Easy Dramatic Natural Light Portraits
It’s a common misconception that when you want to start taking more dramatic portraits, you need to invest in and learn how to use studio lights or off camera flash.
While they do obviously have their place, we will show you how to level up your natural light portrait skills without the use of expensive or complicated artificial lighting set ups.
In our Advanced Photography Course we teach you how to get dramatic light portraits using only natural light, and it’s a total game changer. But if you want some quick tips right now to really level up your portrait game, read on!
All you need is your subject, nicely diffused window light, and some tips on how to position your subject in relation to that light.
Posing First
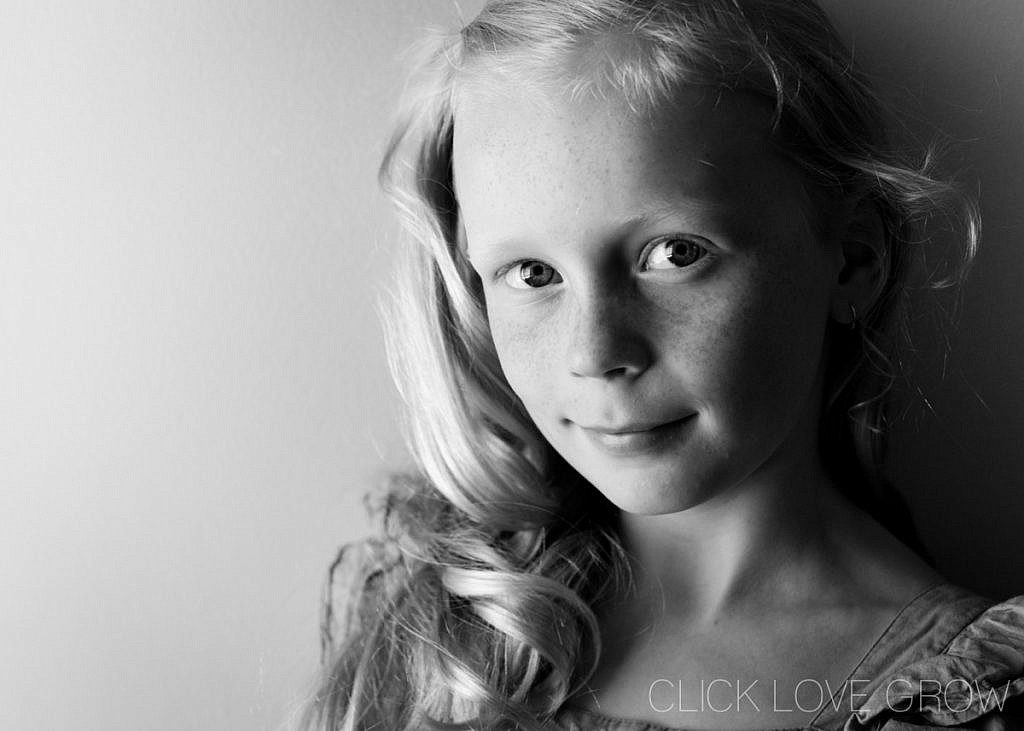
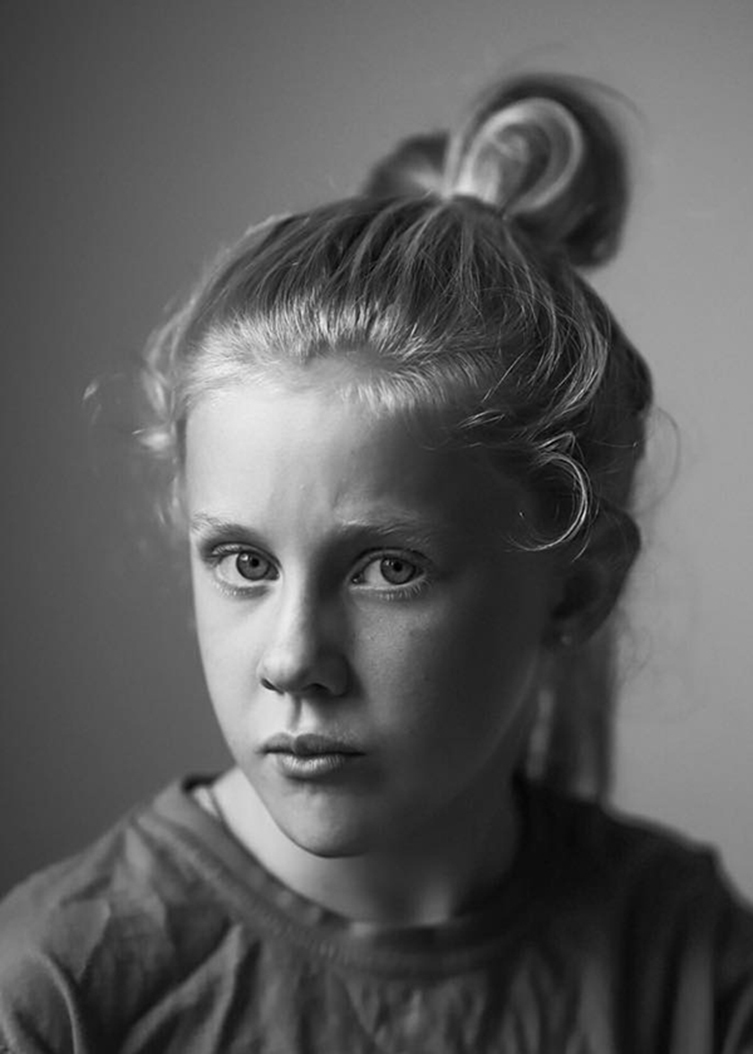
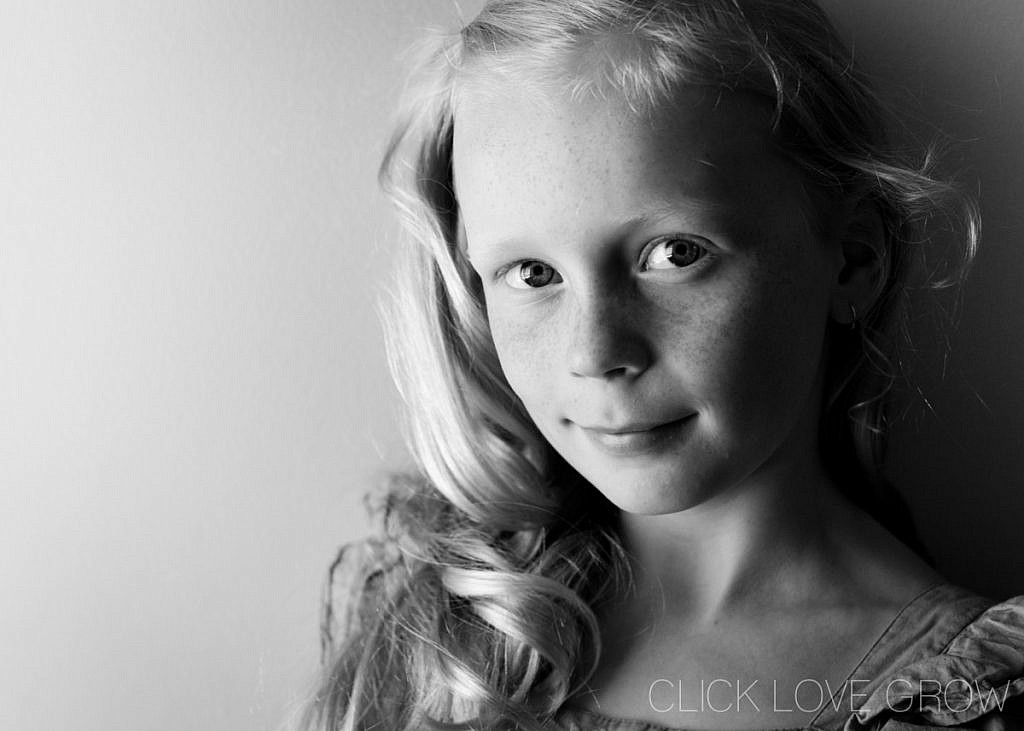
For a dramatically lit portrait it’s a great idea to pose your subject with their face turned a little to the side… so they’re not looking square onto the camera. This is called a 2/3 profile.
You want to turn your subject so you can still see both eyes, but only one ear, like in the example below. The eyes can be looking either off into the distance, or back at camera.
This is a really flattering profile that works for most face shapes.
Now let’s talk about the different ways to light for this position to sculpt the face in the most flattering way.
Clare Passmore, Click Love Grow Advanced-Student
Portrait Lighting Techniques
Let’s look at two classic portrait lighting techniques:
- Short light; and
- Broad light.
They refer to how the light falls on your subject, and each technique sculpts their face in different ways, creating different effects. By being aware of these options and what they do, you can maneuver your subject and find the style that flatters them best!
Short Light Portrait
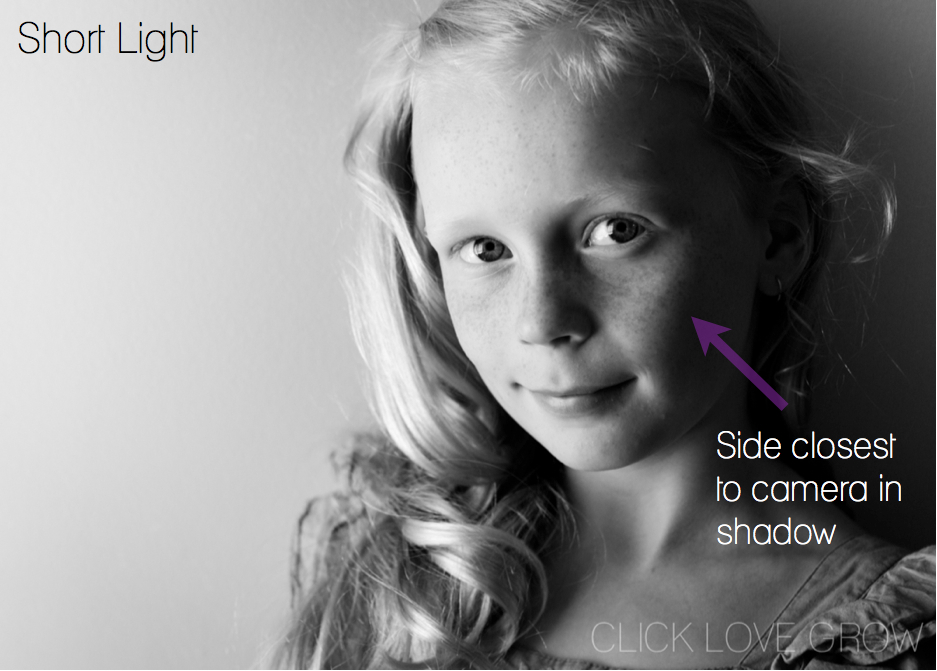
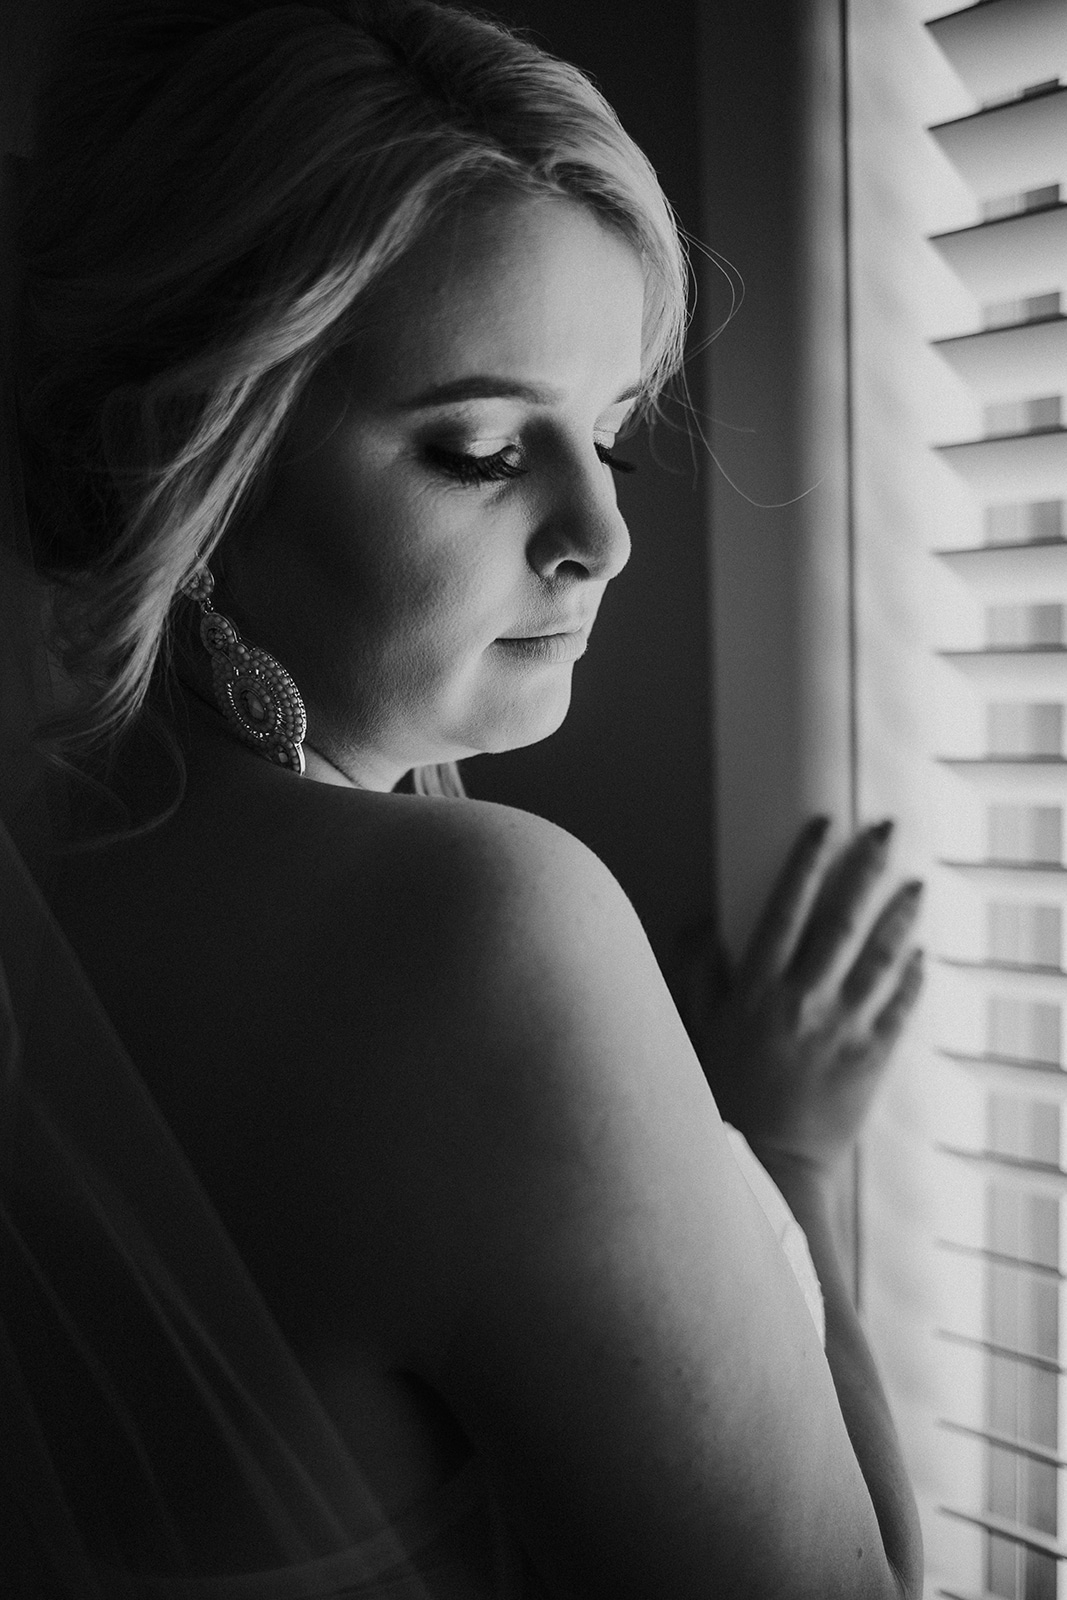
A short lit portrait is created when a single light source is used, and is situated on the side of your subjects face that is furthest from the camera.
This puts the side of their face that is closest to your lens into shadow.
Effects: Causes the size of the face and body to appear smaller; brings out more texture and detail compared to soft/non directional light.
Advantages: Added texture and detail brings more depth to the image; can slim a larger subject.
Disadvantages: Can increase the appearance of skin blemishes; can be unflattering to subjects with very narrow features (but can be used if lighting is lower in contrast).
You’ll often see this technique used in serious or dramatic poses. Also take note next time you see a magazine cover or celebrity head shot… short light is a popular choice for those classic and iconic portraits.
Broad Light Portrait
This is the exact opposite of a short lit portrait.
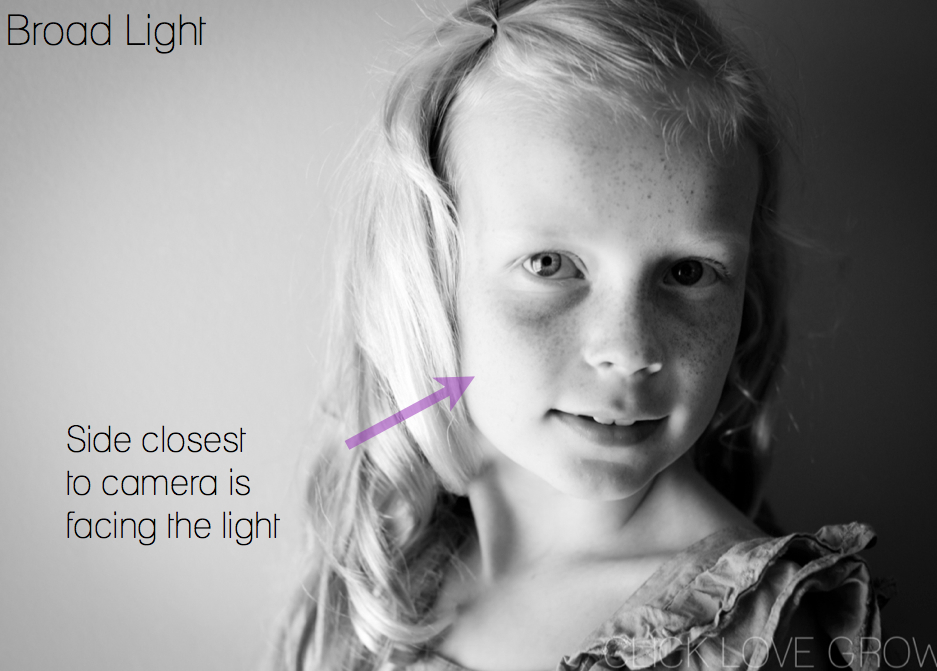
A broad lit portrait is created when the single light source illuminates the side of your subject’s face that is closest to the camera. It’s called “broad light” because it illuminates the broadest part of the face that we can see.
This puts the side of their face that is furthest from your lens into shadow.
This style doesn’t suit everyone as it has the effect of making a face appear fuller, so you would avoid it if your subject already has a full or very round face. On the other hand, it can be used to balance narrow features.
Effects: Causes the face to appear larger than it is; some detail and texture may be lost.
Advantages: Reduces skin blemishes (due to the loss of texture and detail in the well lit/brighter areas areas)
Disadvantages: Loss of texture; can be unflattering on round faced subjects as it enhances the broad side of the face making it appear fuller.
How to Set Up
Location
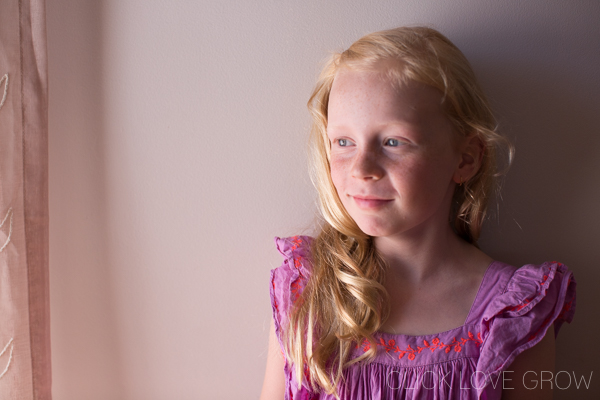
Look for a window with nicely diffused natural light coming in, situated in an area that provides a simple and uncluttered backdrop, such as in the example below.
To ensure directional lighting, there needs to be less to almost no light coming from the opposite side.
Position
Experiment with turning your subject’s face either toward or away from the light, and see which suits their face best!
Also try moving closer or further away from the light to play with the light/shadow balance!
Be as dramatic as you like and play with different positions until you get an effect you love.
Related: 5 Dramatic Light Techniques
Bronwyn Pickering, Click Love Grow Advanced Graduate
Gear & Settings
In the first two images for this post I used a 50mm lens and an aperture of f/3.2 with shutter speed and ISO to balance exposure.
50mm is the minimum focal length I’d use for portraits as anything wider tends to be unflattering on faces due to the distortion.
Related: What Lenses Do to Faces
Focus
Always focus on the eye that is nearest the lens and this is where the viewer’s eye will naturally want to settle.
Related: Master Your Focus
Summary
So let’s sum up what you need to for more dramatic portraits:
- A single window with diffused light
- Subject positioned at 45 degree angle to light source
- Camera positioned at 90 degree angle to light source
- Experiment with subject turning their face toward and away from source (without moving body)
- Control intensity of light by experimenting with distance between subject and light source
- Use 50mm lens or longer
- Use aperture of f/3.2 to f/3.5
That’s it! Super easy. Give it a go, and share the results with us on Instagram and hashtag #clicklovegrow
If you loved this article and would like to fine tune your portrait lighting skills, our Advanced Photography Course takes a deep dive into portrait lighting.
Ready For the Next Steps in Your Photography?
If you’re shooting in manual mode, our Advanced Photography Course is the next step. You will learn to shoot with confidence in any scenario, and push yourself creatively to develop your style through intensive 1:1 critique on your work.
Click HERE to find out more and join the waitlist for our next round!
Leave a Reply Cancel reply
PRIVACY POLICY & SITE TERMS AND CONDITONS
CLICK LOVE GROW ™ Pty Ltd - COPYRIGHT 2024 ©
x
Join Now
Enter your info below to join the challenge!
Want a friendly reminder when I go live?
Pop in your number and I’ll shoot you a text.
* We will send text reminders for our live calls during the challenge! Reply ‘STOP’ to end or ‘HELP’ for help.
We promise not to ever share your details with anyone or send you spam! Check our privacy policy and terms of service.
This is great. Very interesting.
I would love a step back shot of where you were and how you created these shots.
As a SAHM I don’t get the chance to get out much and can’t afford the expensive lighting (can’t and won’t really as I’m not good enough to justify it)
I would really love a post of all of the amazing at home shots you take and how you’ve take a them.
I know sometimes you do give these secrets away and I absolutely love and appreciate that you do.
Thanks for sharing not your knowledge Lou
Thanks Leah… great comment and I’d love to create more blog posts like that… when I was learning I used to find the pull back shots so helpful for learning… here’s a recent one you might enjoy: https://clicklovegrow.com/behind-the-scenes-portrait-locations-at-home/