Are You Making These Top 5 Kids Photography Mistakes?
Do you reach for the camera on special occasions, and for every milestone and outing, only to be disappointed when your photos don’t turn out how you imagined?
Your kids run the other way, the light just doesn’t look right… or you can’t put your finger on why exactly it just didn’t turn out like the gorgeous photos you see all over instagram?
Most of the time, it comes down to a handful of small mistakes we see commonly in kids photography. Sure you’re probably making them, but the good news is they’re usually easy to fix, and making these small tweaks will have a BIG impact on your images!
Mistake 1: Asking for Cheeeese!
When we ask for ‘say cheese!’… our kids usually deliver!
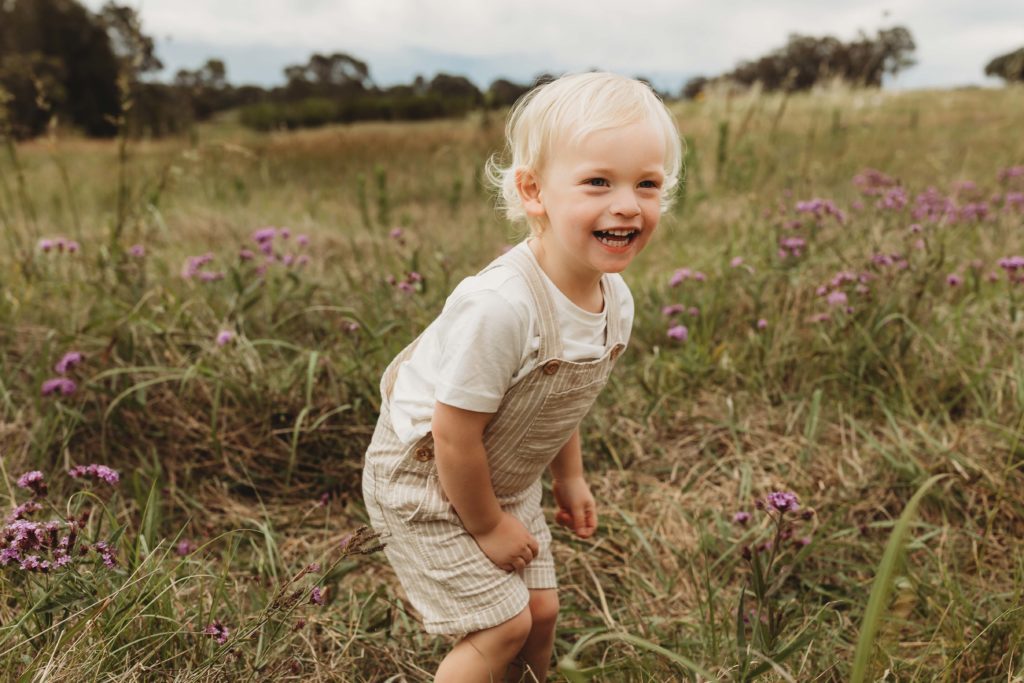
And don’t get me wrong, fun cheesy smiles can be full of gorgeous personality, but natural engaged smiles will deliver us the beautiful portraits of our kids that are much more authentic!

Cheesy smiles are great… but we don’t want them in every shot of our kids
How to Avoid it?
So what can we do instead?
The best way to get real smiles is to engage our kids playfully. Use jokes, silliness and games to make it fun, and next time they won’t be in such a rush to disappear when they see the camera appear!
My favourite trick for group shots of little ones is to promise that on the count of three they can tickle each other. As you count really slowly up to that number three, watch their faces as they desperately await the moment of mischievous hilarity!
It delivers beautiful smiles, and then when they get stuck into each other their laughter can produce a fantastic series of fun moments that play out beautifully together in photo collages.
Peek-a-boo, making mixed up animal noises (does an elephant say ‘moooo?’) and pretending to elaborately sneeze are also firm favourites for the younger age groups when they can’t help but join in the fun!
Related: How to Get Real Smiles from your Kids
Sue Thorn, Advanced Grad

Dana Whitley, Advanced Grad
Mistake 2: Failing to See
You line up the camera, frame the shot of your kids dressed sweetly and smiling beautifully and you don’t even see that barbie, odd pair of socks, and unfolded laundry lying across the background, can you?
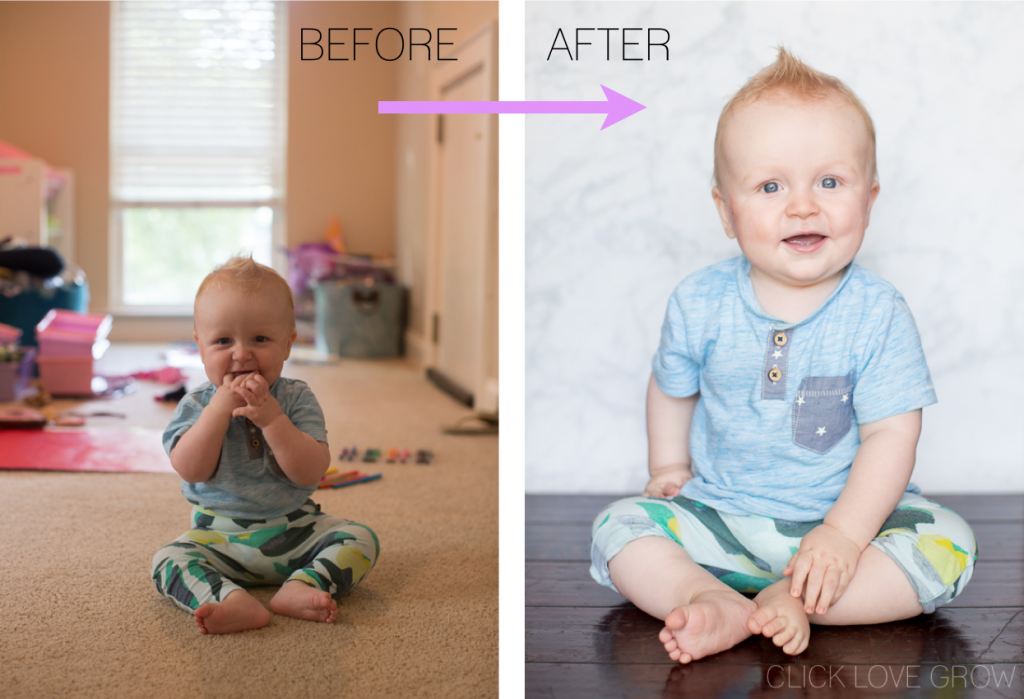
This is what we call clutter, and it works to distract from your subject. When you take a portrait shot, whether you want casual and fun shots, or something more traditional, your goal should always be to separate the subject from the background so that they really pop.
And the easiest way to do that is to start paying attention to what is in the background of your shot.
Related: Clear the Clutter
Simplify Your Background
A simple background without any distracting elements will make your subject stand out.
Choose locations that have nice simple backdrops, such as a timber fence, dense foliage, a painted wall or door.
Related: DIY Photography Backdrop Ideas

Notice how your subject pops when you use a simple background
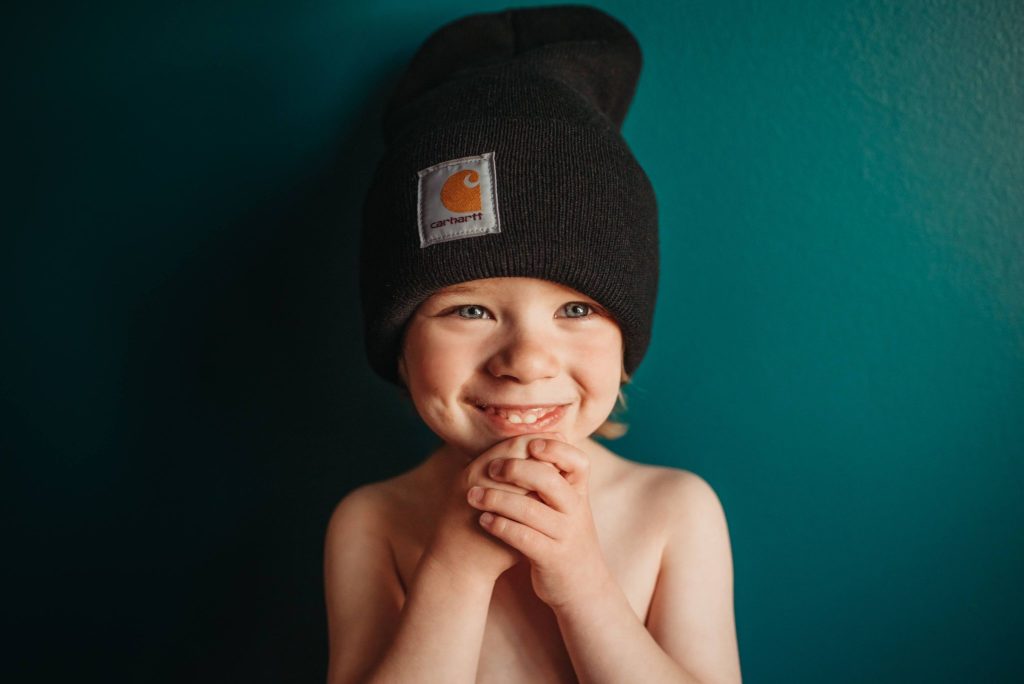
Dana Whitley, Advanced Grad – Plain walls make great easy backgrounds for kids photos
When You Can’t Control the Background
Of course there are some locations where simplifying the background to that degree is impossible. Perhaps the clutter free areas are not in the great light. Or maybe you’re in a park and there are people everywhere.
Blurring the clutter is another way to minimise distractions, and you can do that in three ways:
- Aperture – Use a wide open aperture (low f stop number) such as f/2.8. The wider the aperture, the more background blur you’ll get.
- Background Distance – Put as much distance as possible between your subject and the background. The more distance, the blurrier the background.
- Your Lens – Long focal lengths (eg. 85mm or longer) compress your background and make it appear blurry. The longer the focal length, the more it will compress.
Related: How to Get Blurred Backgrounds (even with a kit lens!)
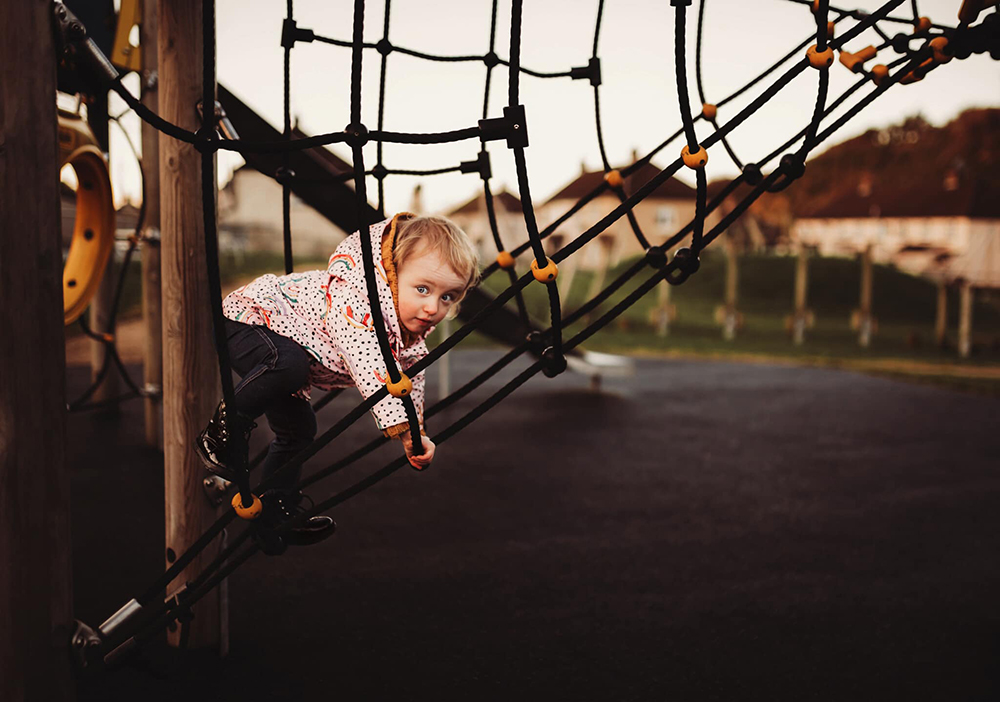
Lisa O’Doherty, Enthusiast Grad – a wide aperture combined with a long focal length will blur the background into insignificance so it doesn’t distract.
Or change your own position. Get up a little higher and shoot down, and use the ground as a backdrop.
Related: 22 Striking Compositions You’ve Never Tried

Brooke Hampson, Advanced Grad – Stand up and shoot down to frame out a distracting background.
Or get down low and shoot up, making the sky your backdrop.
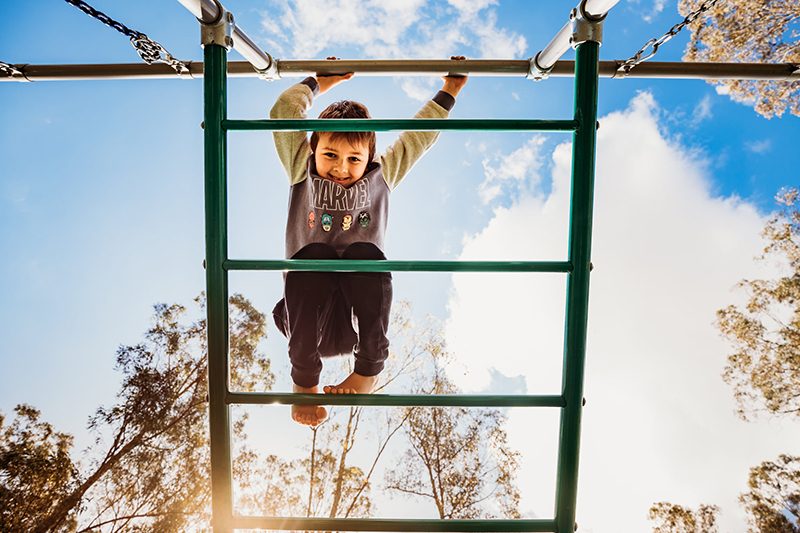
Kirsty Nealon, Advanced Grad
Mistake 3: Using Harsh Light
When you take photos outdoors on a sunny day, your subjects usually end up with scrunched up noses, strong harsh shadows on their face, and generally it doesn’t make for a great shot!
Soft Light for Flatting Portraits
A simple trick for great portraits is to use beautiful soft light. It’s flattering for portraits as it wraps itself around our subject evenly, eliminating harsh shadows. It also means we avoid the squinting and glare we get when our subjects are forced to pose in bright sunlight.
Cloudy overcast days are also fantastic for soft light, or you can look for it in open shade such as under patios, trees, and in doorways.
Related: Doorway Light
Heading into the shade is a simple technique that makes a huge difference to our photos, just like in the example below:

Harsh, bright light creates shadows and lines on our subjects
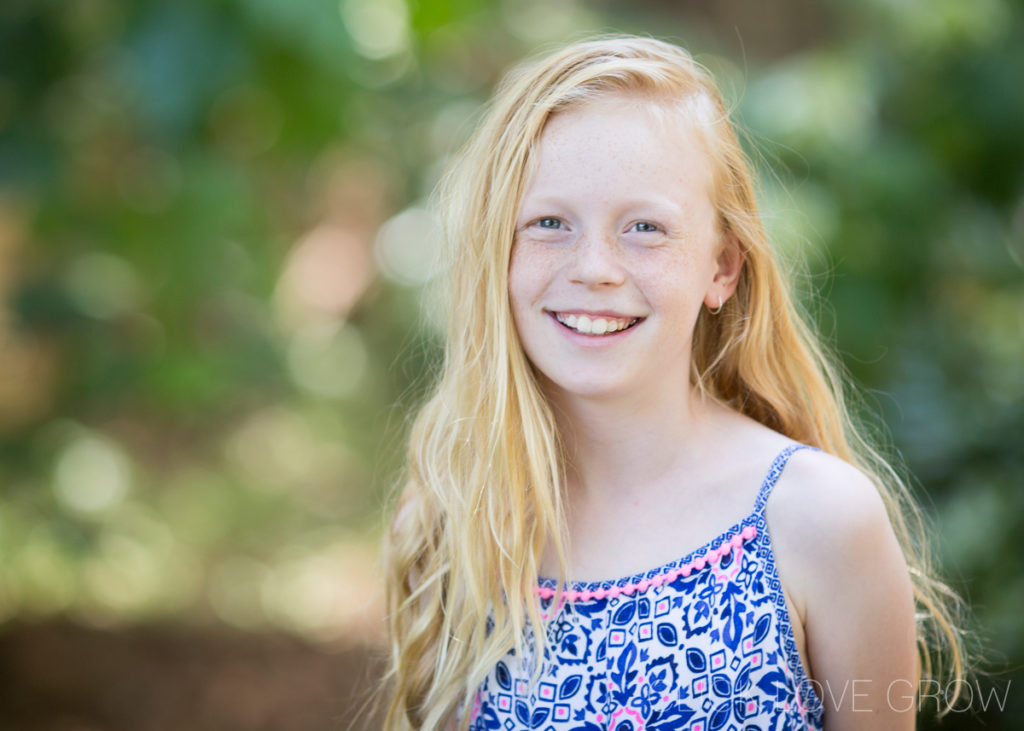
Find shade instead: soft light is easy to use and flattering for portraits
Mistake 4: Stressing Out
Now I know we’ve all been guilty of this one!
We have a specific idea in our heads for the perfect shot, but in trying to set up for our shot, our kids start losing it! Then very quickly, so do we!
But nothing will end a photo session faster than Mumma losing her cool!
Prepare Ahead!
Is there anything kids dislike more than waiting?
So when it comes to kids photography… why would we bring them to a location, then make them wait whilst we set up and take test shots? I can’t stress this enough… my biggest tip is to be prepared and be quick!
Decide your location and set up. Use a test subject such as a doll, an older child or another adult, to decide if the location looks ok and you’re happy with the light. Choose your exposure settings… then bring your little ones into the set up. Remember to make it fun!
That way you can grab the shots you’re after without getting frazzled and stressed!
Keeping Them There!
The younger they are, the smaller your window of time!
An easy way to maintain their attention is to give them something to do with their hands.
Include things such as a favourite book or a toy that they love. Make sure the item blends, by avoiding overly large or bright plastic toys, which will look out of place and distracting.
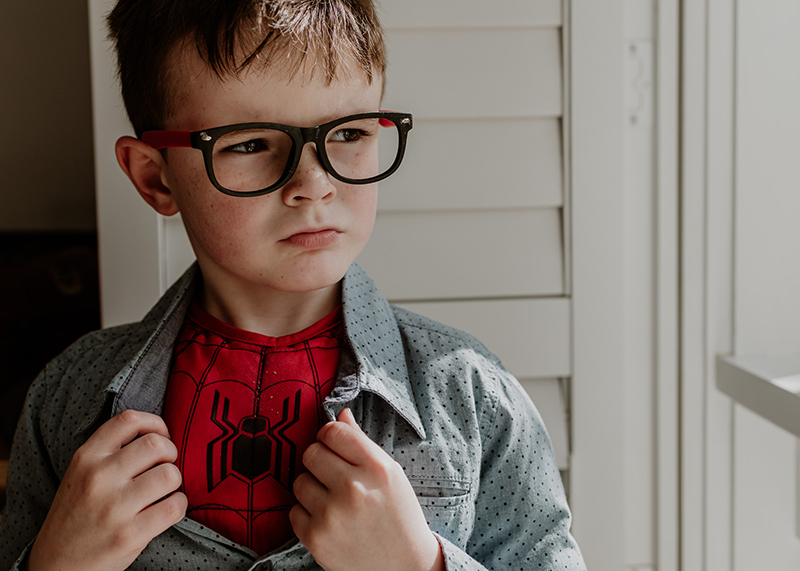
Danica Adam, CLG Advanced Grad
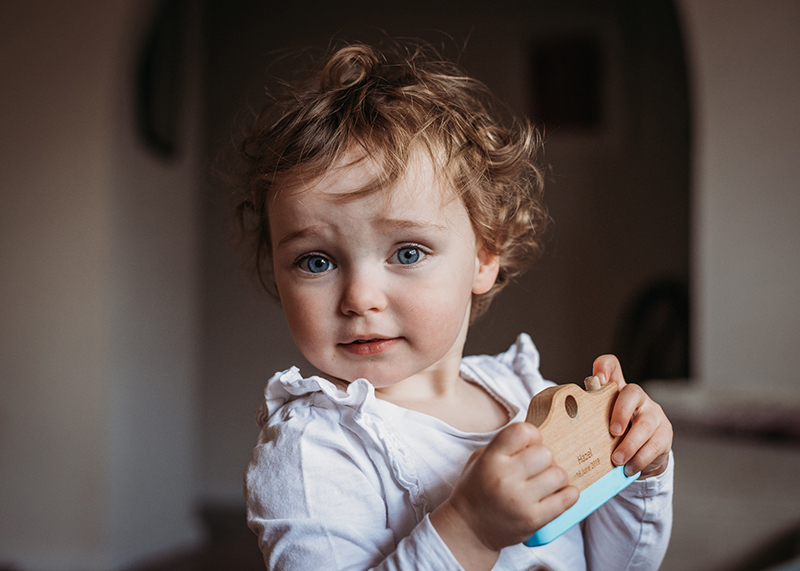
Vicki Cardilini, Advanced Grad
You could also give them food, just make sure it’s photogenic and not too messy! Or you could embrace the mess and get some fun photos!
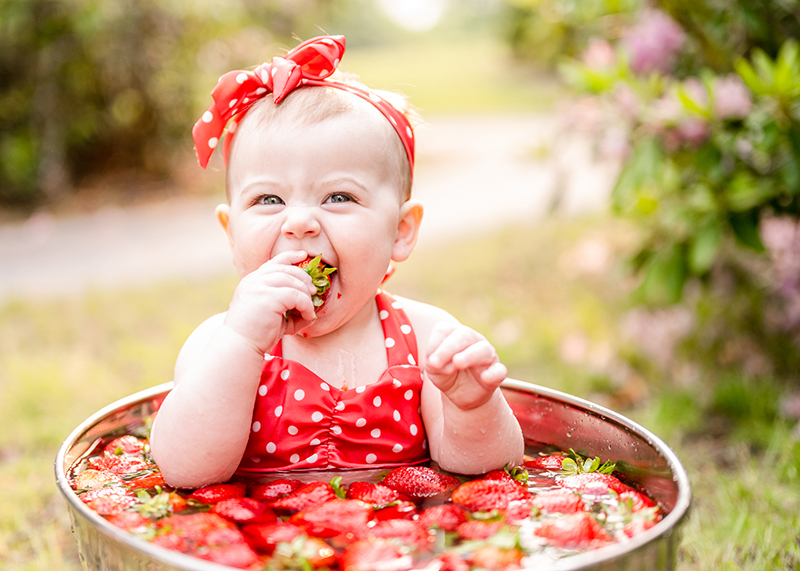
Courtney Yegian, Advanced Grad
Speaking of messy food, watermelon is super photogenic and screams summer!
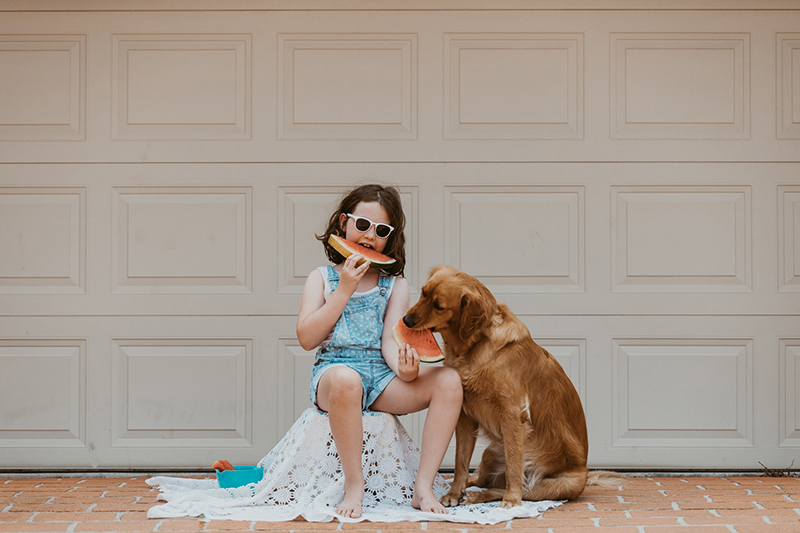
Debra O’Flaherty, Advanced Graduate
Mistake 5: Using your Camera as a ‘Point & Shoot’
If you own a DSLR camera but you’re shooting on auto, then you’re using it as an equivalent to a compact point and shoot camera.
You’re letting the camera make all the decisions about how to expose for the shot, and the artistic effects it creates.
If you bought a DSLR because you were sick of unwanted blur, or you wanted to create those gorgeous blurry backgrounds, you can’t do that in auto.
Take Control
By using your camera in manual mode, you take complete control, and open up a whole new world of possibilities…
You decide how the camera lets in light, and how much. In doing so, you determine the artistic effect.
Want to capture fast action sports without the blur? Done. Gorgeous blurry background to make your subject pop? Tick.
Learning manual mode is the only way to unlock the potential of your expensive camera to take the images you dreamed about!
Related: Shooting in Manual Mode
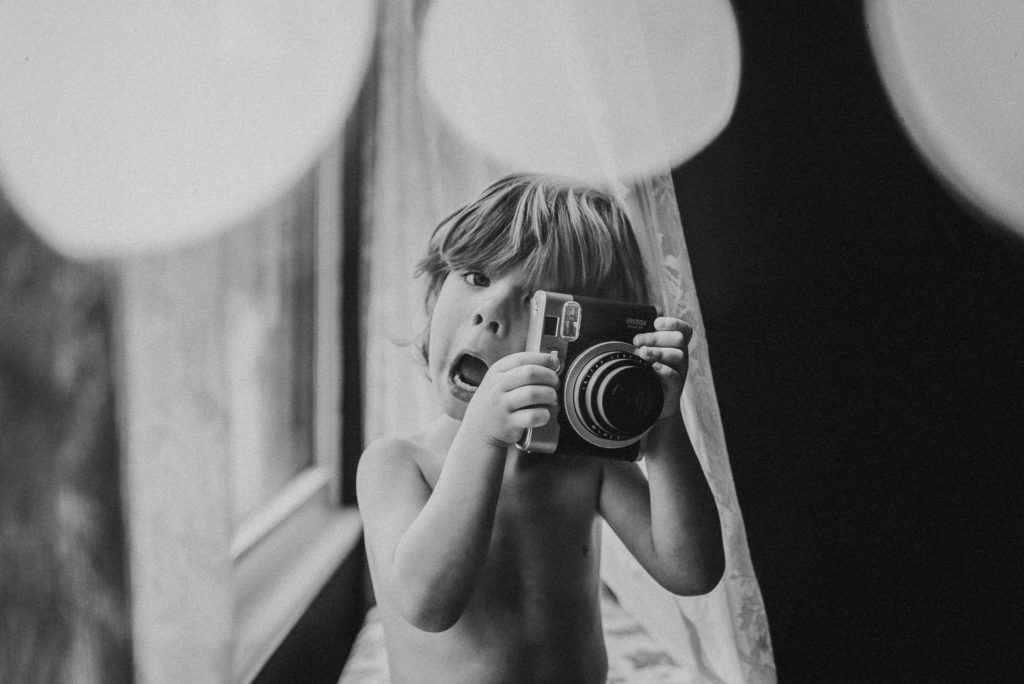
Dana Whitley, CLG Advanced Grad

Dinithi Ranathunga, Advanced Grad
Want better photos of your kids?
If you’d LOVE more tips on how to take natural, fun and beautiful photos of your kids, check out our free Photography Workshop that I recorded recently! You can watch it right now here.
Leave a Reply Cancel reply
PRIVACY POLICY & SITE TERMS AND CONDITONS
CLICK LOVE GROW ™ Pty Ltd - COPYRIGHT 2024 ©
x
Join Now
Enter your info below to join the challenge!
Want a friendly reminder when I go live?
Pop in your number and I’ll shoot you a text.
* We will send text reminders for our live calls during the challenge! Reply ‘STOP’ to end or ‘HELP’ for help.
We promise not to ever share your details with anyone or send you spam! Check our privacy policy and terms of service.
I usually make my kids say Hi instead of cheese so they still smile but they feel more natural than the typical cheesy smile. I love the letting them tickle each other approach. I’ve since learned more about off camera flash inside my house and I love the flexibility of that even if it means the kids have to stay in one place. I’m Quickly discovering that not having to rely on the sun all the time for lighting is an awesome feeling even though my favorite time to shoot is during golden hour. With just a canon speedlite and a reflective umbrella placed at 45 degrees and 45 inches away, I am able to achieve pretty flattering loop lighting that looks like I’m In a actual studio but it’s only in my living room. But with that speedlite I don’t have to shoot wide open as the flash is pretty bright already. So I actually shoot at f9, ISO 200 and 1/160. I have a simple seamless looking background and so don’t need to worry about blurring my background. But if the clothing is bright, ithe colors will pop against white or black or neutral background for sure.
I get my oldest son talking about his favorite things–dinosaurs and mine craft. It’s great because I get such genuine happiness coming from his face AND we get a little mother-son one-on-one bonding time!