Behind The Scenes of A Storytelling Photography Shoot
When you look back at images of your childhood, what is it that you love most about them?
For those of us born before the digital era, our baby albums are likely filled with faded prints, some out-of-focus, some underexposed, negatives long since lost to the sands of time.
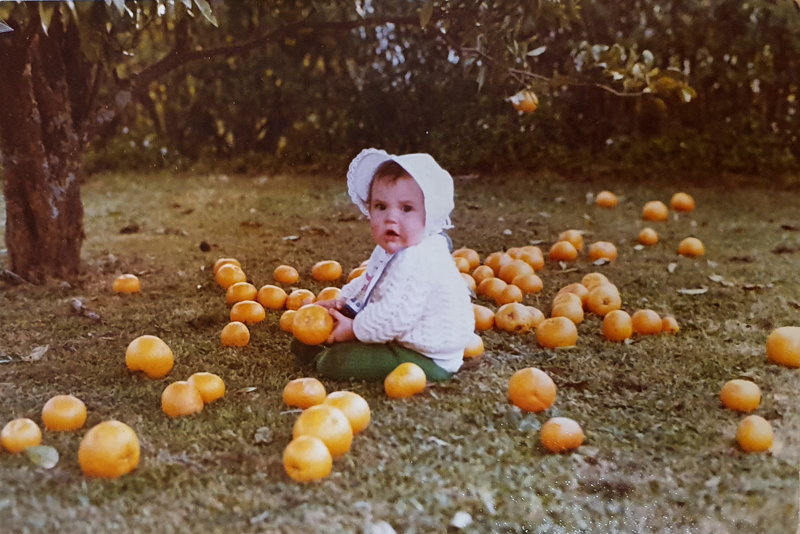
Emma, 1981
But it’s not what they look like that makes them so precious. It’s the stories they tell. Of homemade birthday cakes and family outings, of 70s wallpaper and 80s fashion.
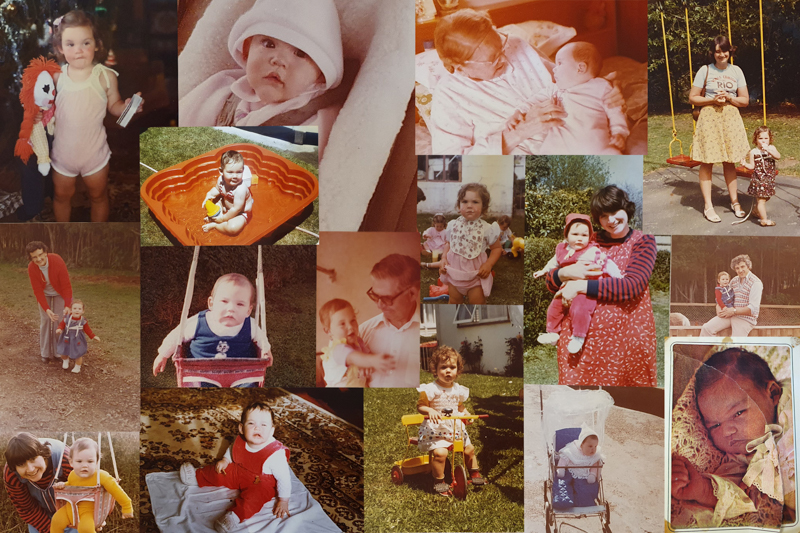
From the pages of Emma’s baby album, 1980-1982
Stories of Childhood
And it’s these stories of my childhood which drive me to pick up my camera and document my children’s stories, filling the albums that will one day be their memories.
For me, storytelling falls somewhere in between documentary and lifestyle photography, a little bit scripted, a little bit unscripted.
I tend to plan my storytelling shoots around a specific activity, event or location. Then once it’s all set up, I hang back with my camera and let the natural moments unfold.
This storytelling session arose from a request by one of my 14-year old twins to go to the beach one sunny winter’s afternoon. Now, anyone who has teenagers will relate to how difficult it is to get them to participate willingly in family activities. So how could I possibly say no?! And, of course, taking my camera was a no brainer!
Here’s how I pulled together my storytelling shoot, from the location and gear that I chose, to the way I dressed my children, to the compositions and perspectives I used to tell the story of a family trip to the beach…
Related: How To Take Photos In Harsh Beach Light
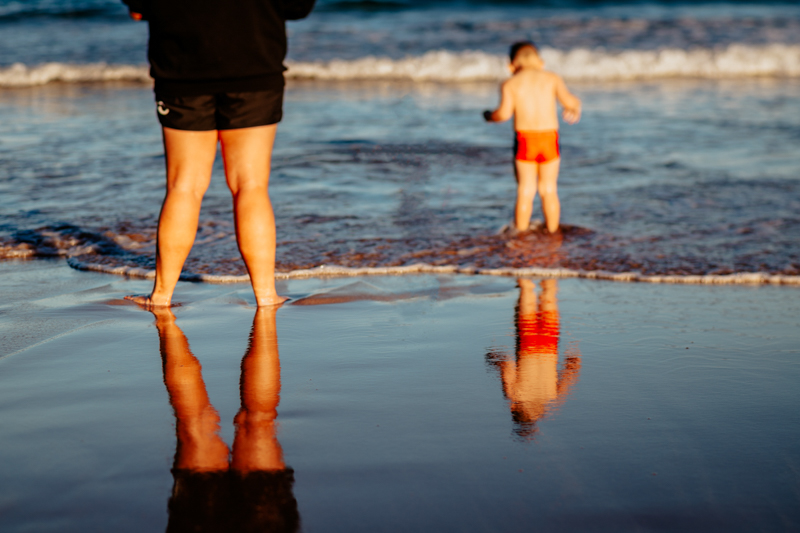
1. Planning
Okay, so there wasn’t a lot of planning with this one! It was very much a spontaneous decision to go to the beach for the afternoon! BUT there were still two key choices I made ahead of time that influenced the images I wanted to create.
Location
The first was choosing the location.
Last minute beach trips for us usually mean going to a local beach as it’s relatively close to home, but the light there in the late afternoon can be hit and miss due to the position of the sun. Earlier in the year, we had spent some time at a surf beach further along the coast and I’d captured some stunning sunset shots. So I decided to head out there even though it’s a longer drive and meant we’d be later getting home.
Gear
The second was choosing my gear.
I’m usually a total overpacker, taking every single lens I own because I never know where the mood is going to lead me. But when it comes to the beach, that’s just not practical as changing lenses on the sand isn’t ideal. Plus I don’t want to be crouching in the water with a heavy camera bag slung around me. So I chose to pack light.
I took:
- Canon 6Dmkii – this is my backup body which I use for beach shoots as I’m less precious about it getting a bit messy
- Lensbaby Edge 80 – because the images I envisioned featured lots of golden light, haze and dreamy blur
- GoPro Hero Black 9 – for water shots and wide angles
I also tucked my Lensbaby Omni Teardrop Wand and Rainbow Film in my pocket. These are creative tools which I can position in front of my lens to bounce and refract light.
Related: The Ultimate Beginner’s Guide To Buying New Lenses
2. Light
I use an app called PhotoTime to help work out the best time to shoot. On this particular afternoon, sunset was going to be 4.58pm, so I aimed to get to the beach by 3.30pm.
This would give us plenty of time to explore, and give me the opportunity to capture a range of both full sun and golden hour shots. I also wanted to make sure the kids got to swim before the evening chill set in!
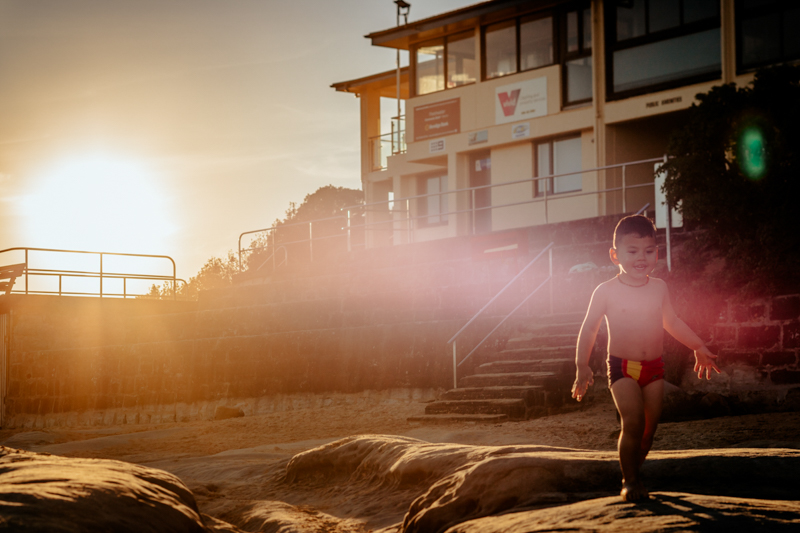
This particular beach has a lagoon on the opposing side of the sand to the ocean, and the sun sets over the lagoon. So I anticipated that I would have the sun over my shoulder when I was shooting images of the children in the ocean. Then later during golden hour, I’d be able to backlight with the lagoon and setting sun as a backdrop.
Related: 6 Backlight Photo Ideas To Try
3. Colour
Colour is a huge element in my photography. I love warm, vibrant colours in my images, and colour itself can be such a strong storytelling device.
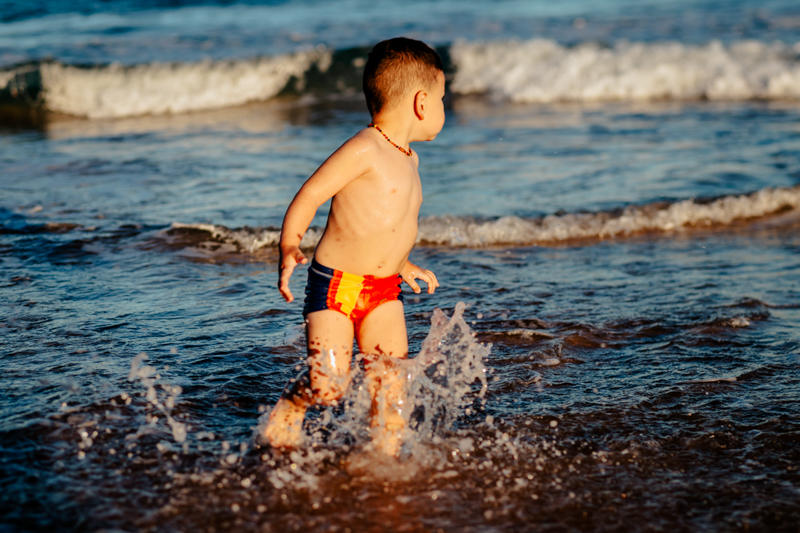
When I’m shooting at the beach, I love strong, bold colours that pop against the landscape. So when I was shopping for new swimmers for my two littlest, I deliberately bought bright colours that fit with my vision.
I’m especially obsessed with the primary pairing of red and blue! So they’ve had a lot of wear out of the ones in this series!
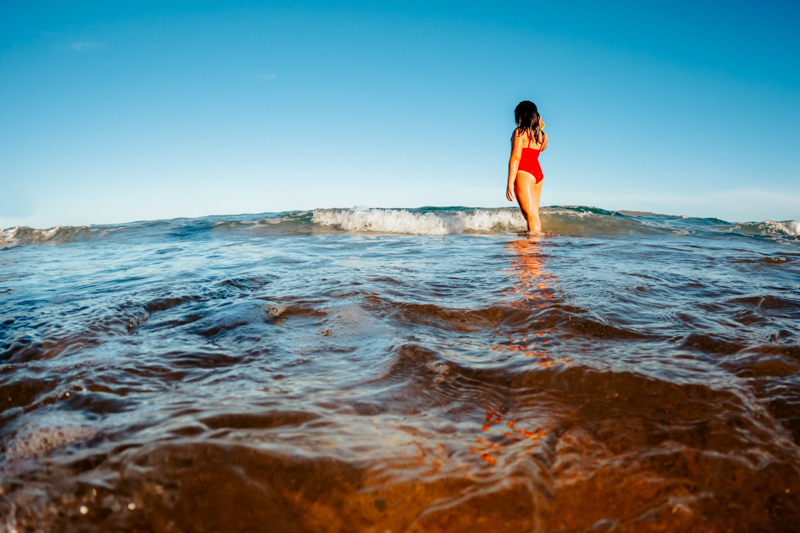
My older kids are less enthusiastic about letting me dress them (#teenagelife). Surprise surprise! So I mostly end up finding ways to work with whatever it is they’ve chosen – usually some form of activewear!
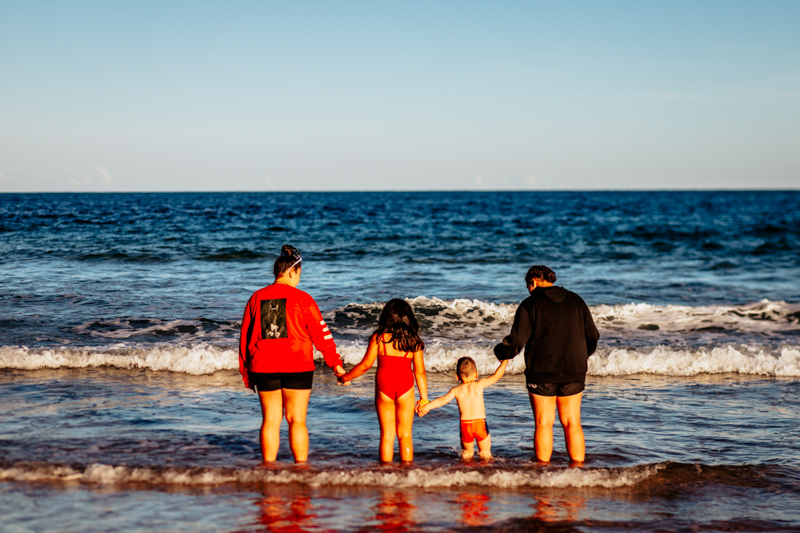
I got lucky on this day – one was wearing her fave red sweater which worked perfectly with the little ones’ swimmers!
Related: 6 Ways To Use Complementary Colour For Dramatic Photos
4. Composition
Before I start shooting, I usually have a few ideas in my head of compositions I’d like to try. But I also try to follow the children’s lead and let their play unfold naturally.
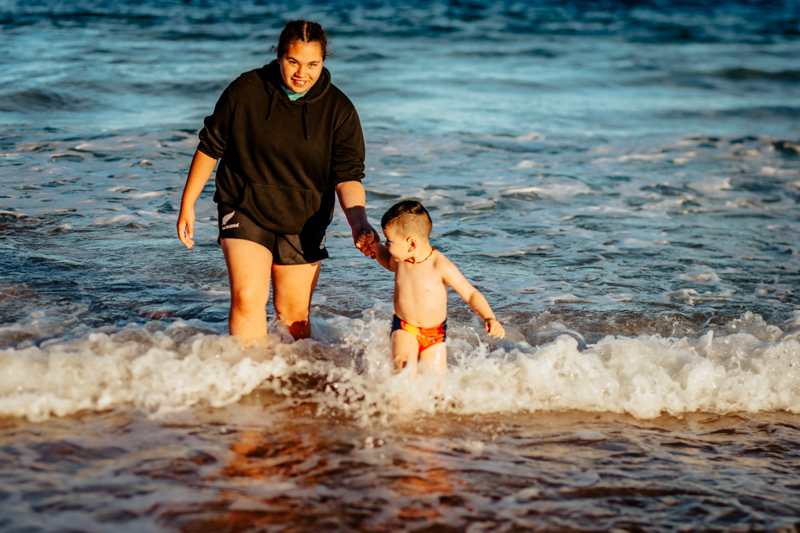
Of course, the first thing my three-year-old wanted to do when he spotted the ocean was race straight in! So I began by documenting his splashing around the edge of the water, and capturing the connection between the siblings.
One image I had on my ‘must capture’ list was all four of them together in the water. I prompted them to stand in a line holding hands, then the girls encouraged their brother to jump the waves.
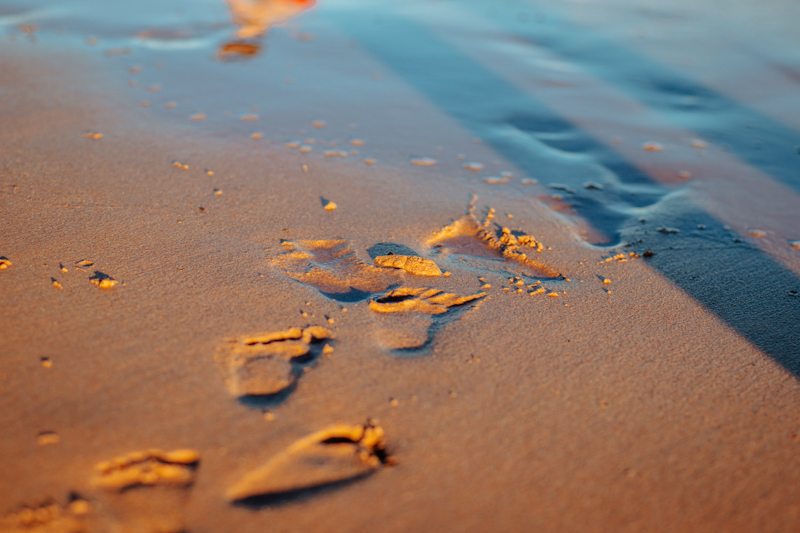
I then got down low to capture their reflections and a trail of footprints in the wet sand. This helped create a sense of scale.
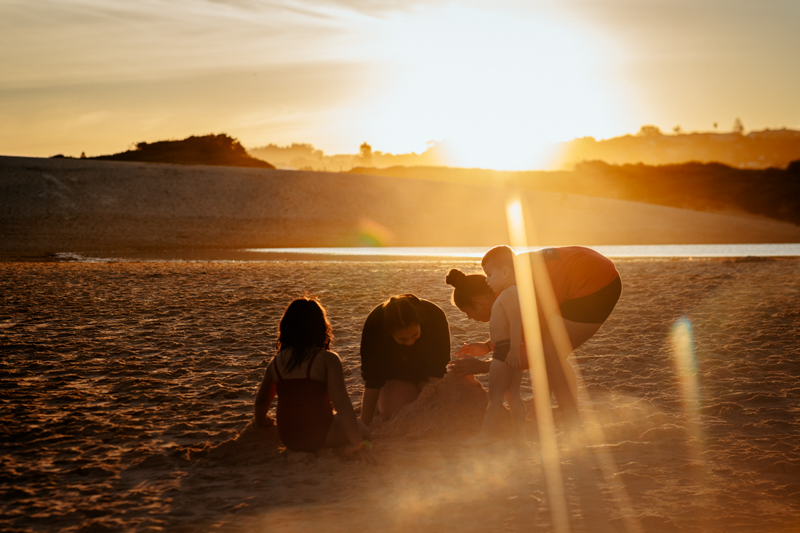
As the sun moved lower in the sky, they ventured out of the water and up onto the sand. I suggested a good spot for building sand castles based on the position of the sun. This also ensured a relatively clutter-free background to make post-processing easier.
On the sand, I captured some backlit images where they were semi-silhouetted.
Related: How to Take Silhouette Photos
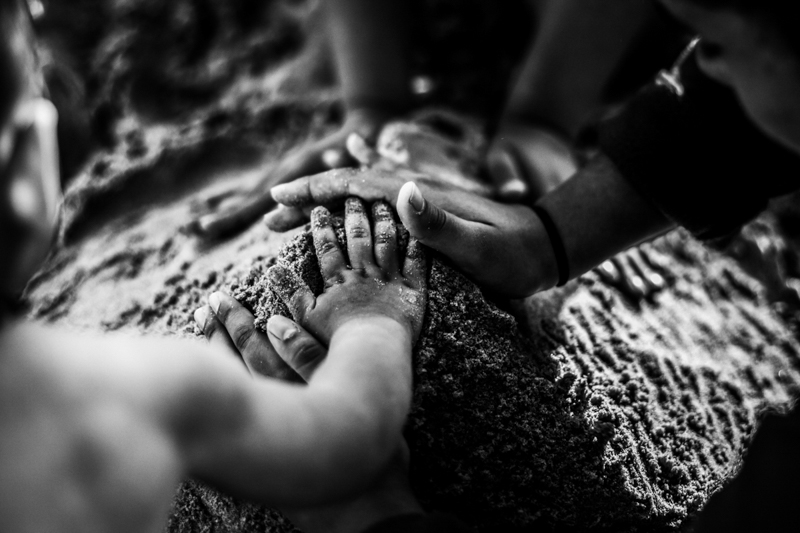
Then I got in close to shoot some of the details as they constructed their sand creations.
5. Layer Your Story
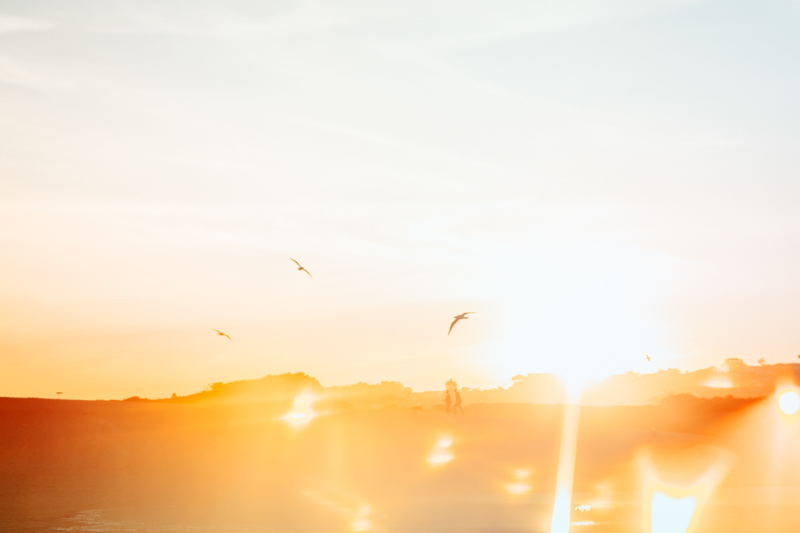
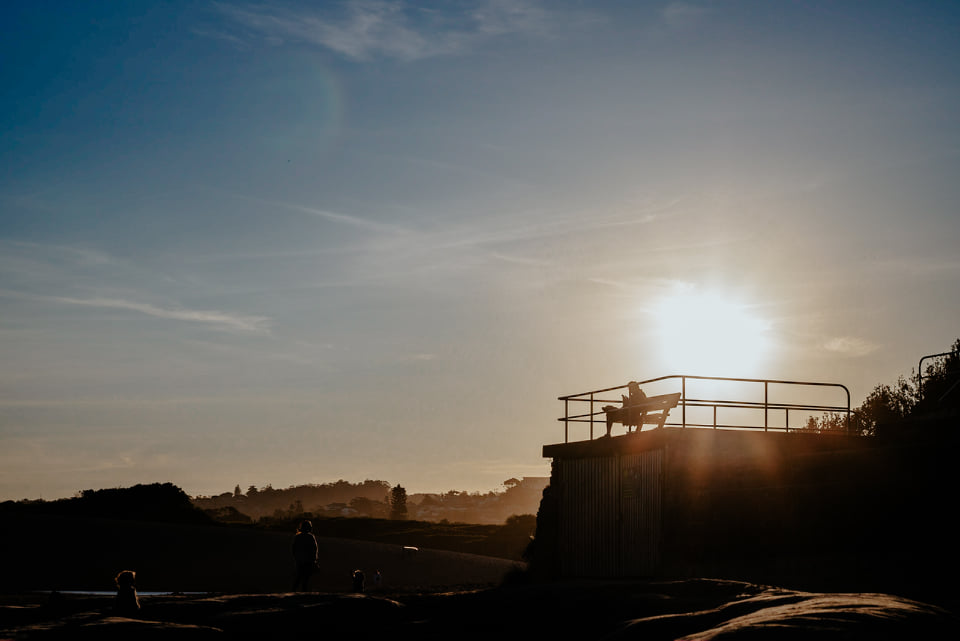
Over the course of the afternoon, I also took a series of images of the changing beachscape: the lifeguards coming in from duty; surfers clustering in the water at dusk; and the fading warmth and light of the sun as it sank beyond the horizon. These images are filled with strangers, yet they add context to the story, a moment frozen in time.
Related: 12 Fun Summer Photo Ideas
6. Blur
I am a huge fan of blur as an artistic device. Perhaps it’s because I learned to shoot on film in a time when we had to trust what we could see through the viewfinder so we were more accepting of soft focus. Perhaps it’s because many of the photos in my own baby album are out-of-focus (thanks, Dad!). Or perhaps it’s the inexplicable sense of nostalgia I feel when I see images filled with dreamy, whimsical blur.
Whatever the reason, it’s this love for blur that initially drew me towards Lensbaby lenses. I often choose my Edge 80 for storytelling shoots because the freelens-style slice of focus creates that gorgeous blur.
Related: Bring Magic To Your Images With Lensbaby Omni
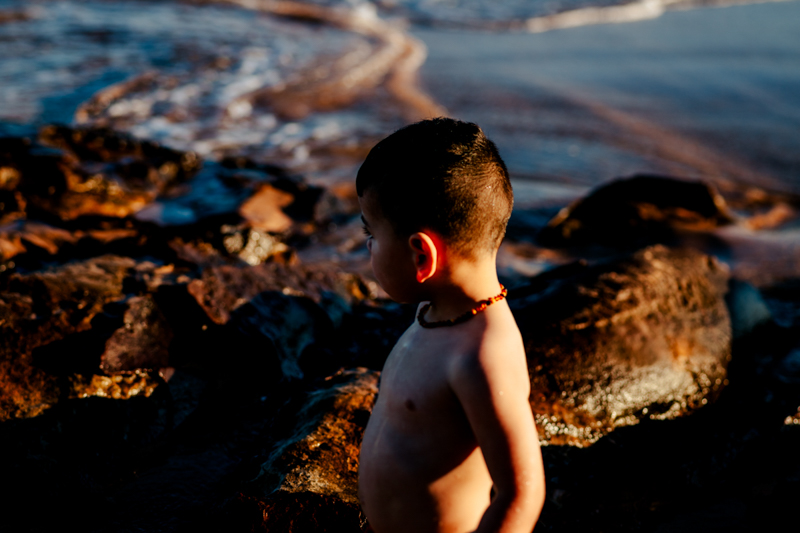
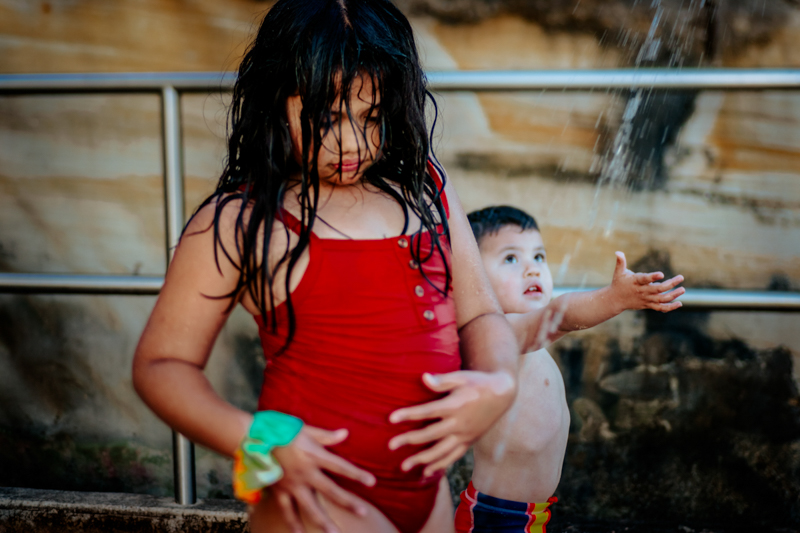
Which is not to say there isn’t a place for sharp focus. In each of my storytelling images, I generally set my focal point on one key element of the story within the frame. Then I let the blur envelop the rest of the scene.
Here, for example, I focused on my daughter’s face and let the blur convey the movement of the water. This also puts her little brother slightly out of focus, as though he was looking in on the story.
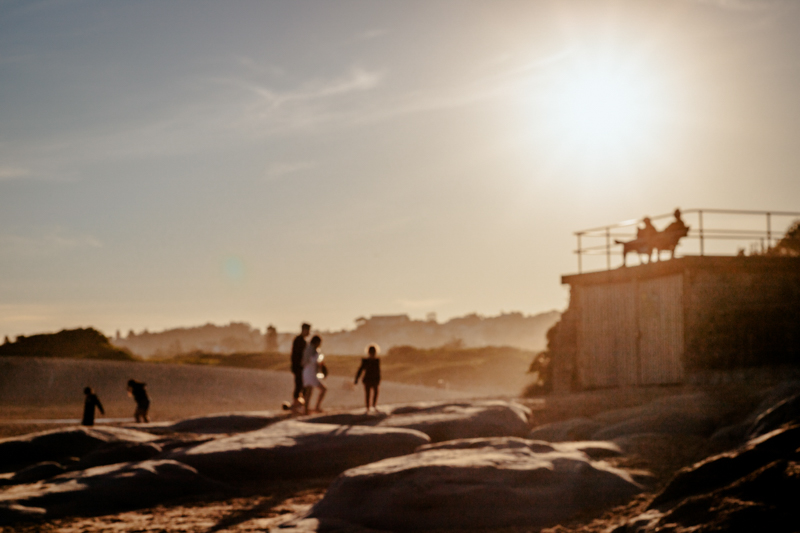
In some frames, however, I did throw focus out the window completely and opt for intentional out-of-focus, again for the nostalgic feeling it invokes.
Related: Use Selective Focus for More Creative Images
7. My Hero, The Sky
When you have a sky like this, make it the hero of the shot by allowing it to take up at least 2/3rds of the frame.
But what do you when nature doesn’t come to the party and the sunsets without any fanfare?
Two words: sky replacement. When I shot this, I envisioned a sky awash with glorious colour, but the reality was quite different. Check out the sooc! But I composed the scene with my vision in mind, and replaced the sky with something more vibrant in post processing.
Related: How to Replace The Sky in Photoshop
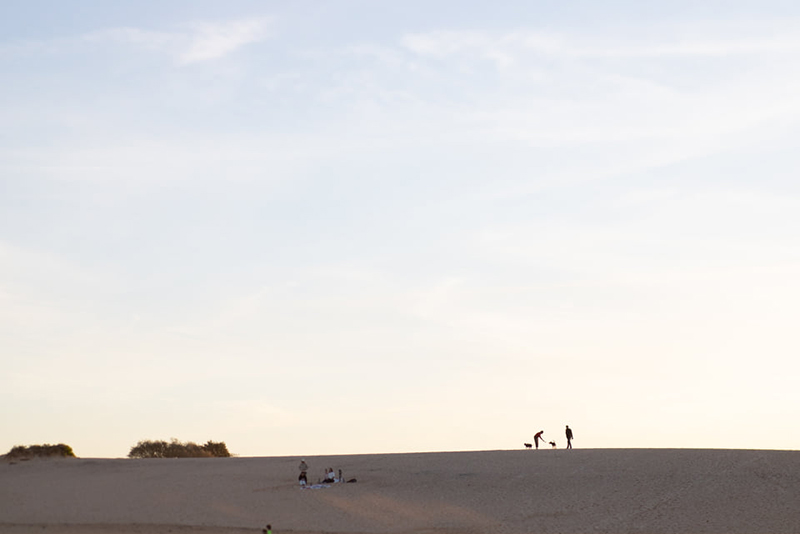
The SOOC shot… not quite as colourful as I’d envisioned…
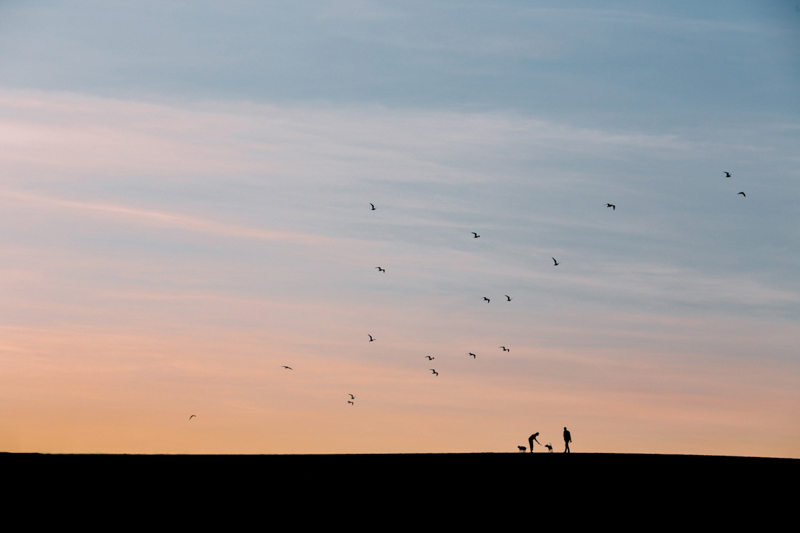
After a little magic is worked with an overlay added easily in Photoshop
Planning Your Own Storytelling Photography Shoot
If storytelling photography sounds like a genre you’d like to explore, the best place to start is by asking yourself ‘What is the story I want to tell?’
It doesn’t have to involve children. In fact, it doesn’t even have to involve people!
Perhaps your storytelling photography shoot might document the wildflowers along a local nature trail. Or sailboats coming and going along the harbour. It might even be the preparation of a favourite meal, or the celebration of a special occasion.
Whatever the story you want to tell, the subheadings I’ve used provide a great framework for sketching out your vision. Then it’s time to grab your camera and watch the story unfold!
Happy storytelling!
Emma Davis is a CLG Instructor, Advanced Grad, and an ex-pat Kiwi living in Sydney. She has a background in journalism and photography, and is mum to six gorgeous muses who indulge her love of hunting and capturing light.
Join my new workshop and learn How to Shoot Pro-Quality Photos With Your DSLR… and it’s totally FREE to join! Register here…

Leave a Reply Cancel reply
PRIVACY POLICY & SITE TERMS AND CONDITONS
CLICK LOVE GROW ™ Pty Ltd - COPYRIGHT 2024 ©
x
Join Now
Enter your info below to join the challenge!
Want a friendly reminder when I go live?
Pop in your number and I’ll shoot you a text.
* We will send text reminders for our live calls during the challenge! Reply ‘STOP’ to end or ‘HELP’ for help.
We promise not to ever share your details with anyone or send you spam! Check our privacy policy and terms of service.
Be the first to comment