Young Girls Photography – Behind The Scenes Of a Flower Portrait Shoot
Young girls’ flower portrait photography can be a challenge, but with the right lighting and composition, you can create stunning portraits that showcase the beauty of these blossoms.
While the spontaneity of documentary and lifestyle photography have their own kind of magic, there will always be a place for the classic beauty of traditional portraiture, especially when it comes to young girls’ photography.
And when Click Love Grow Advanced Graduate Jennifer Magnuson, mama of three littles from Boston, shared her stunning flower photos in our Grads group, we were immediately captivated!
In this photographic tutorial, she takes us behind the scenes to show us how she captured this gorgeous flower portrait photography series. Enjoy!
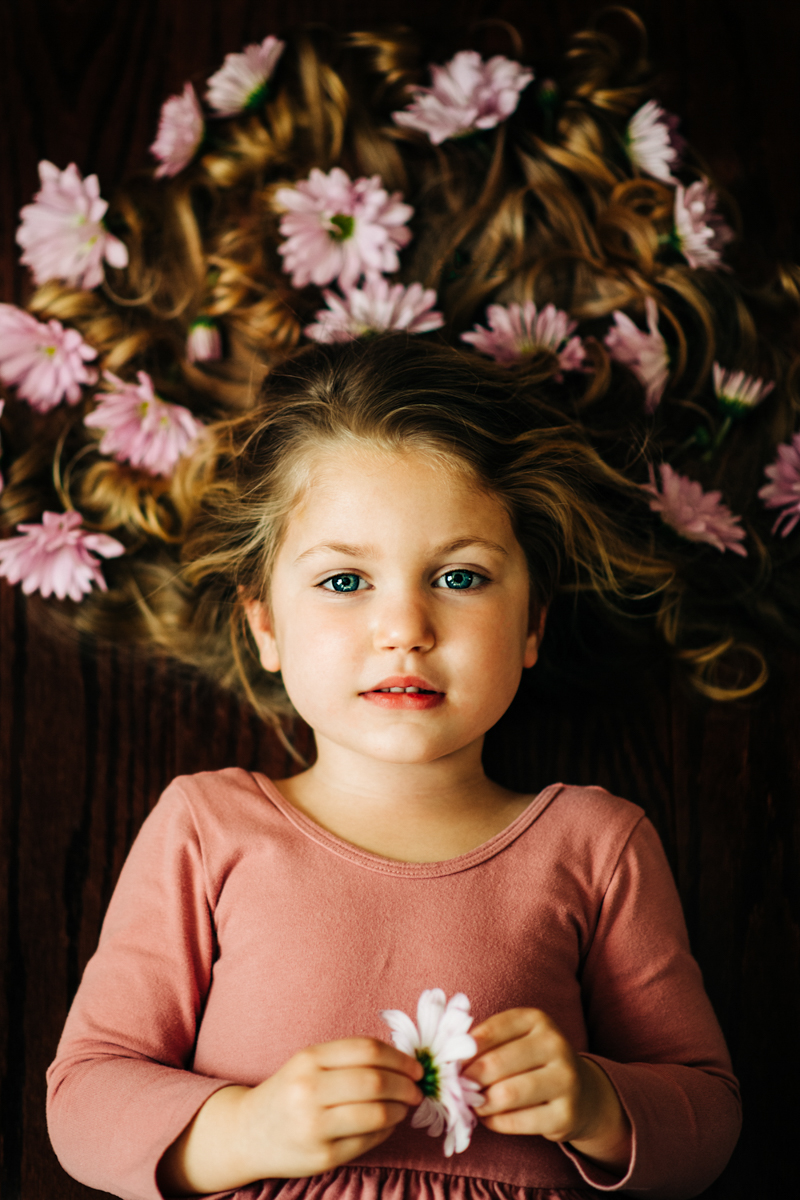
A Young Girls Flower Portrait Photography Vision
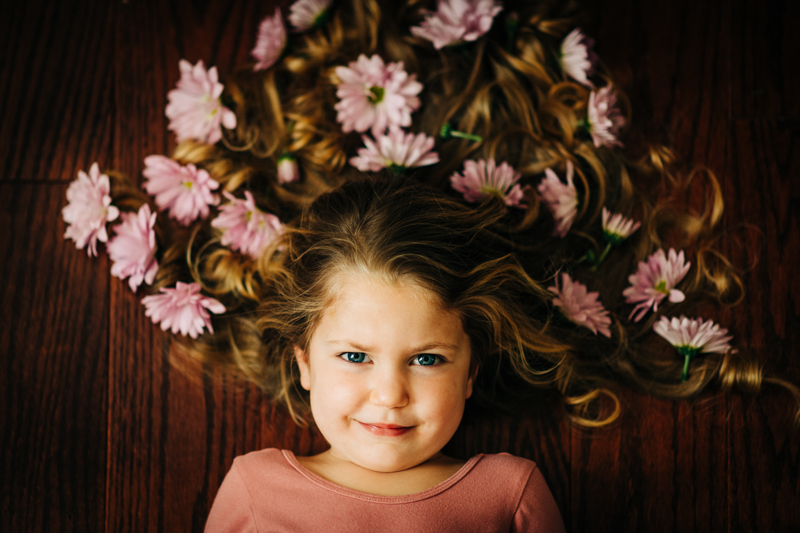
I was in the middle of CLG’s Studio Portrait Workshop and had learned how to use natural light to achieve a specific mood, so I was excited to try a more traditional style portrait shoot rather than my usual documentary-style approach. I brainstormed young girls’ photography ideas and decided to do this feminine, pretty flower portrait session with my almost 4-year-old daughter.
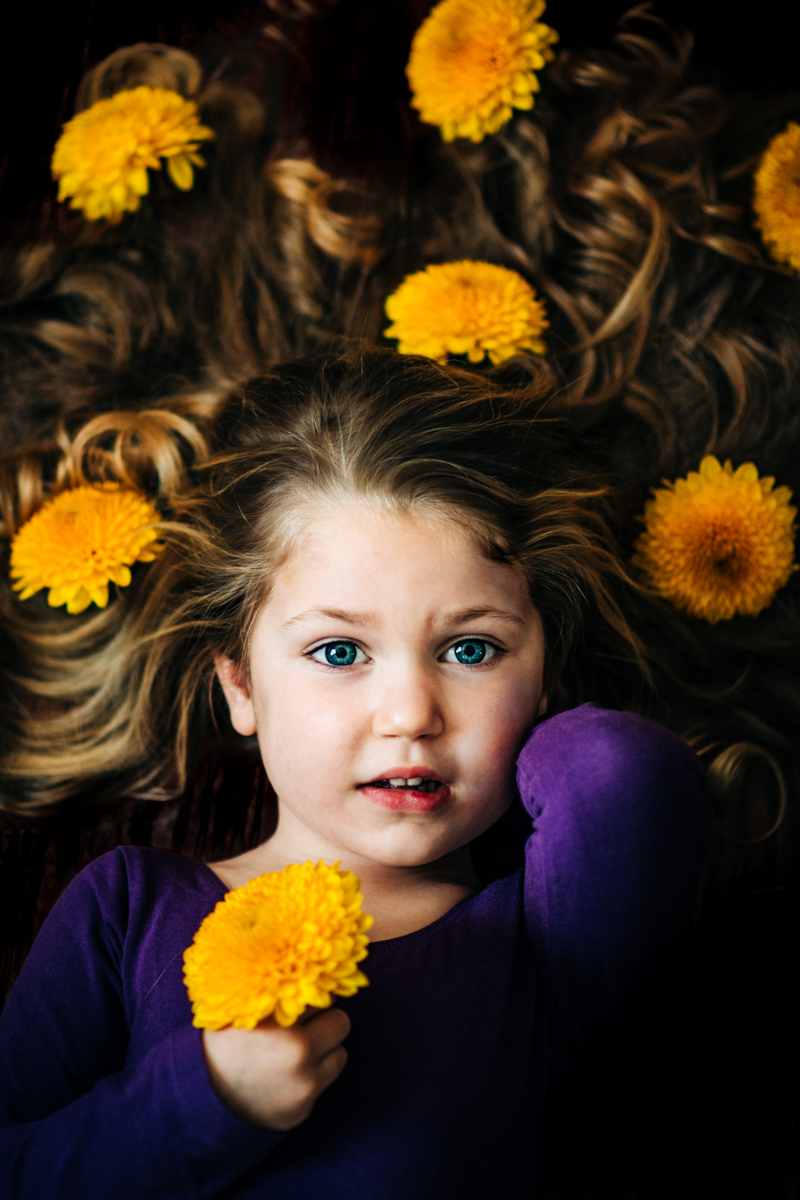
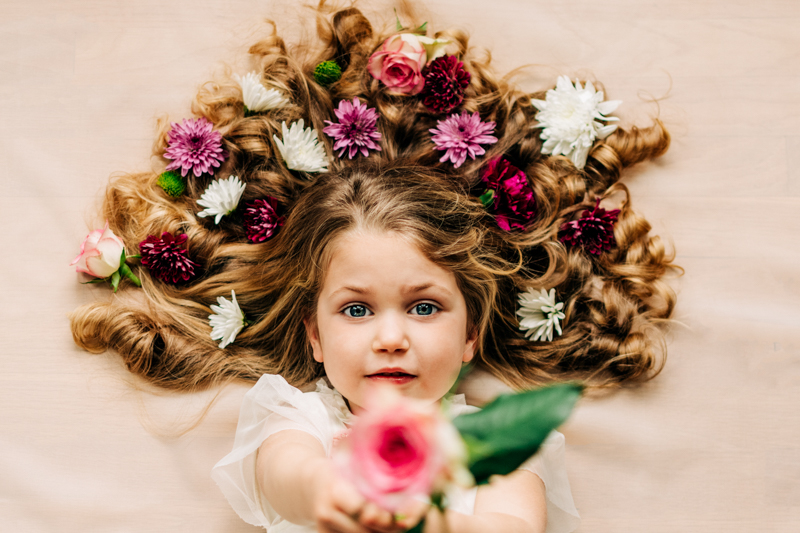
- I wanted Audie to lie down because I had a vision of her hair fanning around her and the area scattered with flowers. Also, I knew lying down would buy me more time! When she’s sitting or standing, she’s much more easily distracted!
- I knew I wanted a dark backdrop, so I chose to use my living room for the shoot. It has darker wooden floors than the rest of the house, so it would make the perfect backdrop for my vision.
- I planned to dress her in a rose coloured dress because it’s my current fave and reminds me of ballerinas! Plus, it would marry well with the tones in the flowers, which is really important for the overall look — so consider it when planning the shoot.
- As we were still on COVID restrictions, I wasn’t able to go to the grocery store. So I ordered a bunch of flowers and crossed my fingers that I’d get some pretty blooms!
Related: Natural Light Photography – Finding Light Indoors, How to Shoot Dramatic Natural Light Portraits at Home
Planning Is Key
One of the most important things I learned during the CLG Advanced Photography Course is to set up as much of the scene as possible before introducing your subject. I definitely kept that in mind when planning these portraits — Audie has a short attention span!
So before bringing her in, I moved the furniture, swept the floors, and prepared all the props. I took some test shots to check the light and my camera settings.
This doesn’t mean that I don’t let her help with the setup. In fact, all my kids love to help me clean and set up for a photoshoot. For this one, in particular, they loved popping the flowers off the stems! But that’s all fun, and I’m doing most of the work. When I’m ready for her, I want to be READY!
Related: DIY Photography Backdrop Ideas
Practice Run
The day before this flower portrait photography shoot, I did a practice run without the flowers. I wanted to test the light and make sure all the elements worked together as they did in my head.
I experimented with two styles of lighting. First, I side-lit her with window light for dramatic directional light. Then I pivoted her and had the light washing down her head — top-lit — which is a more even and gentle lighting style.
I liked the way her hair fell, but I decided I wanted a more curated look. So I curled her hair for the first time, eeek!
And though I still had my heart set on the rose dress, the purple of her leotard looked simply lovely!
Related: 6 Ways To Use Complementary Colours For Dramatic Photos
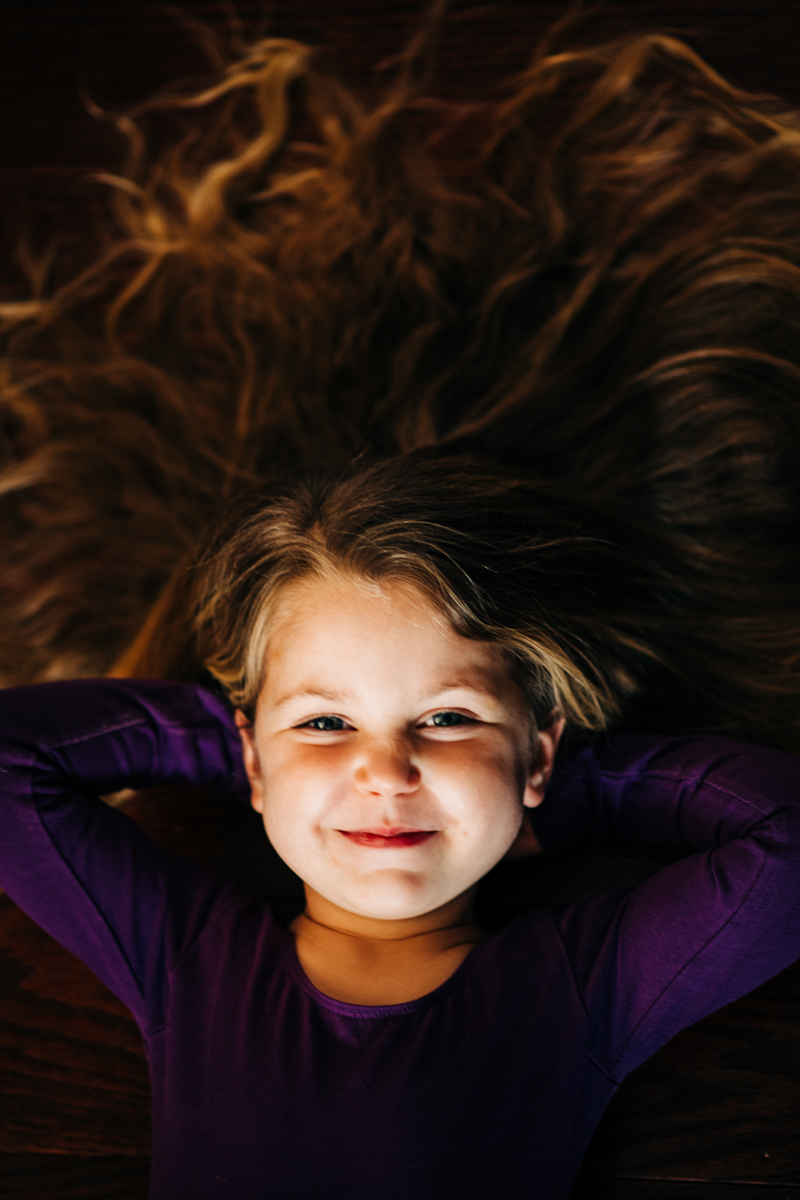
My test picture helped me fine-tune those important details — the direction of light, the colour she should wear, and even her hairstyle.
Setting Up
On the morning of the shoot, I curled her hair and gave her my phone with some games on it to keep her still.
My grocery order had come the night before and fortunately, I got lots of variety — including some lovely pinks and yellows!
We started with the rose dress as planned, but mid-shoot the flowers solidified my earlier thought to change her outfit. Colour theory was one of my favourite lessons in the Advanced Course. Purple and yellow? Yes please!
Related: Creative Photography Ideas: A Colour Inspired Photo Project
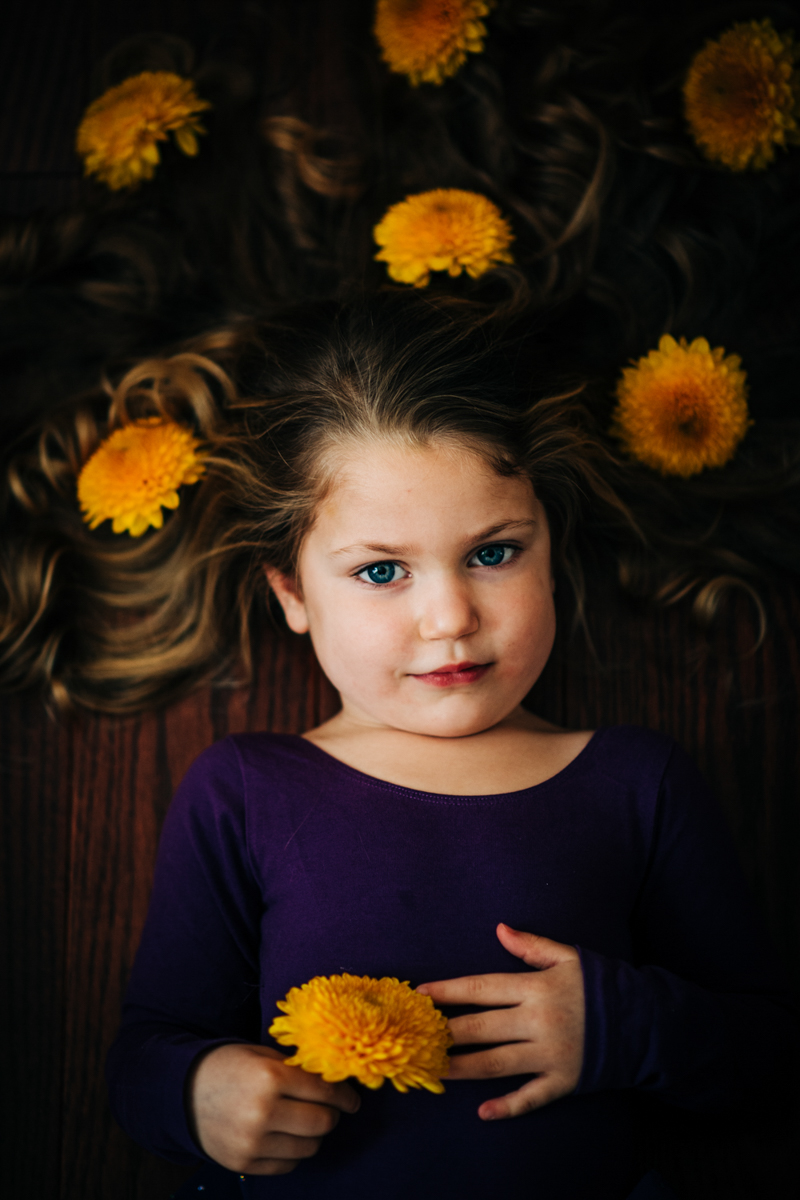
I had just bought an 85mm lens and was obsessed, so I really wanted to use it for this flower portrait photography session. But 85mm is a pretty tight frame, and I wanted to be able to get ALL of her hair in. So I planned to use a ladder to get me up nice and high!
CLG Tip
When you photograph on a ladder, always wear your camera strap, so if you lose your footing and drop your camera, it won’t land on your subject. This is especially important when photographing children and babies.
While I was curling her hair, my son Erik was popping the flowers off the stems for me. Then I let them both run around while I did some last-minute furniture moving, and positioned the ladder. A clean of my lens, and I was ready to go!
Lighting
It was a cloudy day, so side lighting worked the best because it created a dramatic look with gentle shadows. So I set up with that position in mind.
So now the camera was ready, the ladder was ready, the child was ready!
I went ahead and had her lay down. I took a gamble letting Erik put the flowers in her hair, but he really wanted to be involved. He took much longer than I would have, and he really wanted to put them ALL on the left side. But Audie wanted his help, and with a little guidance from me, we got them evenly spaced. I was able to get a bunch of shots of him setting her up too, which are super cute.
Related: How To Use Natural Light For Dark & Moody Photos
Time To Shoot!
Gear
For this flower portrait photography session, I used my 85mm lens as I mentioned above, but you can use any focal length from 35mm to 105mm. Things to bear in mind at end of the range are:
- The wider focal lengths (35mm) will give you a flatter look and some distortion to their features
- The longer focal lengths (85-100mm) will give you beautiful depth and no feature distortion. But it’s a tight fit, so you’ll need to get up very high in order to fit the scene in the frame
- 50mm is a great balance, as it will render features without distortion, and you won’t need a ladder!
Settings
For the top-down images, I shot with an aperture of around f/1.8 to f/2. When shooting this wide, your subject’s eyes need to be on the same focal plane to get both in focus.
It can also be a bit hit and miss if you have a wiggly worm or if you’re not confident with focus yet. If that’s the case, try narrowing your aperture to around f/2.8 to f/3.5. This will give you some margin for error whilst still giving you good separation.
Angles
When shooting top-down, you’d think it would be easy to nail the angle. But it’s actually quite easy to go a tiny bit too far over the top or not quite far enough. And if you do, the result can feel a little off-kilter. A good rule of thumb is if your camera is at the perfect angle, your subject should be able to look directly into your lens. They shouldn’t need to tilt their head or turn their eyes up or down.
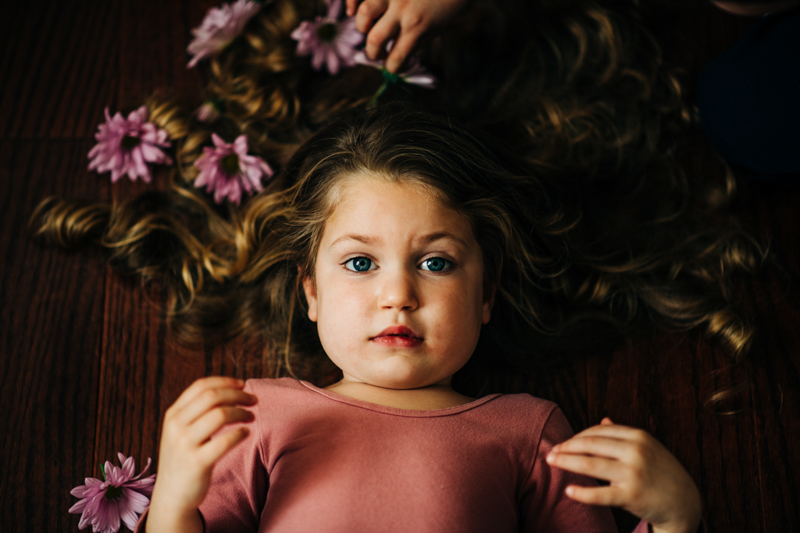
Make It Fun!
I usually use music when doing a photoshoot with Audie. But I’d learned in the CLG Studio Portraits Workshop that incorporating a game into the session helps engage kids. So, knowing how much Audie loves to dance, I came up with a little game to get us started!
Essentially, I told her it was her job to ‘make the flower dance’. I would say, “okay, you’re going to slowly smell the flower, then very slowly let the camera smell the flower. Then slowly move the flower to the side… and then start all over again!”
I got lots of natural smiles and giggles this way. Then when the novelty began to wear off, I extended the game by having her speed up the flower’s ‘dance’.
Related: Sunflower Photography – 8 Tips For Stunning Pictures!
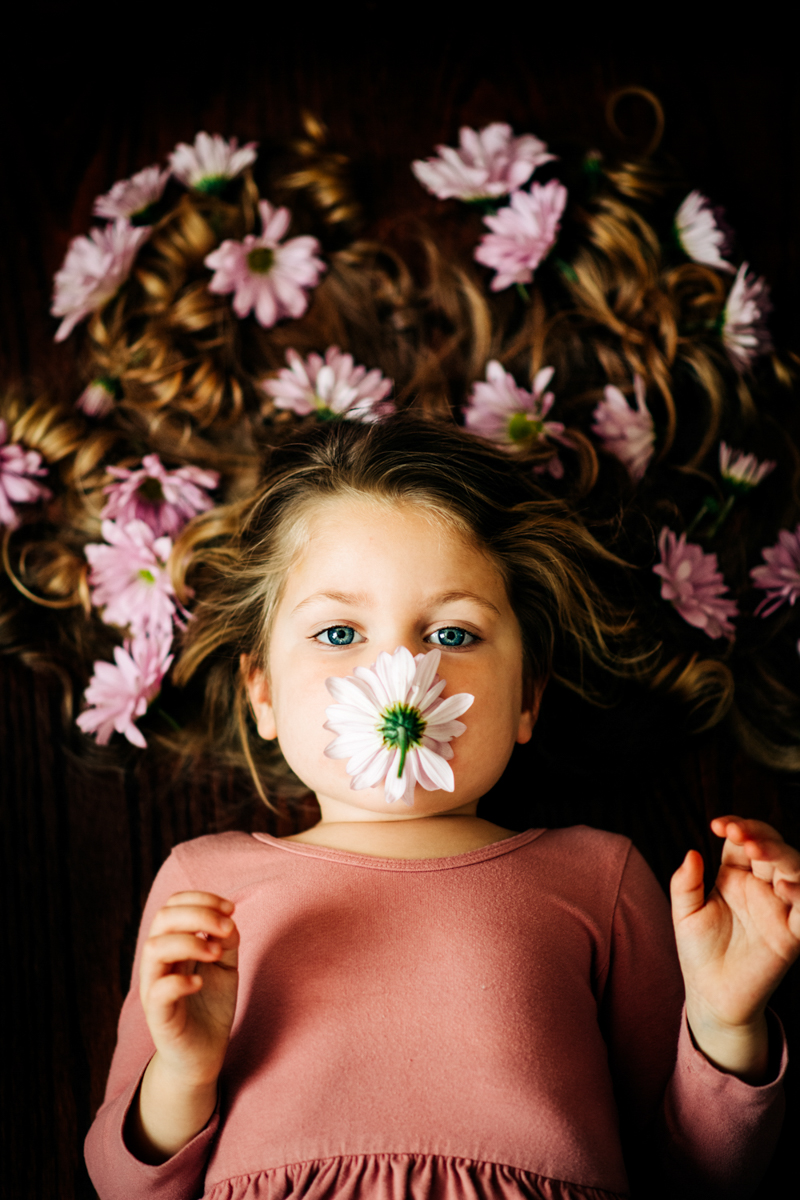
After I felt I had enough variety, I asked her if she would change into her purple leotard. I think if I didn’t already have the leotard there so she saw it, she would have said no as she was over it.
Another reminder of the importance of getting everything ready beforehand!
Erik helped me take the flowers out of her hair while she changed and lay back down again.
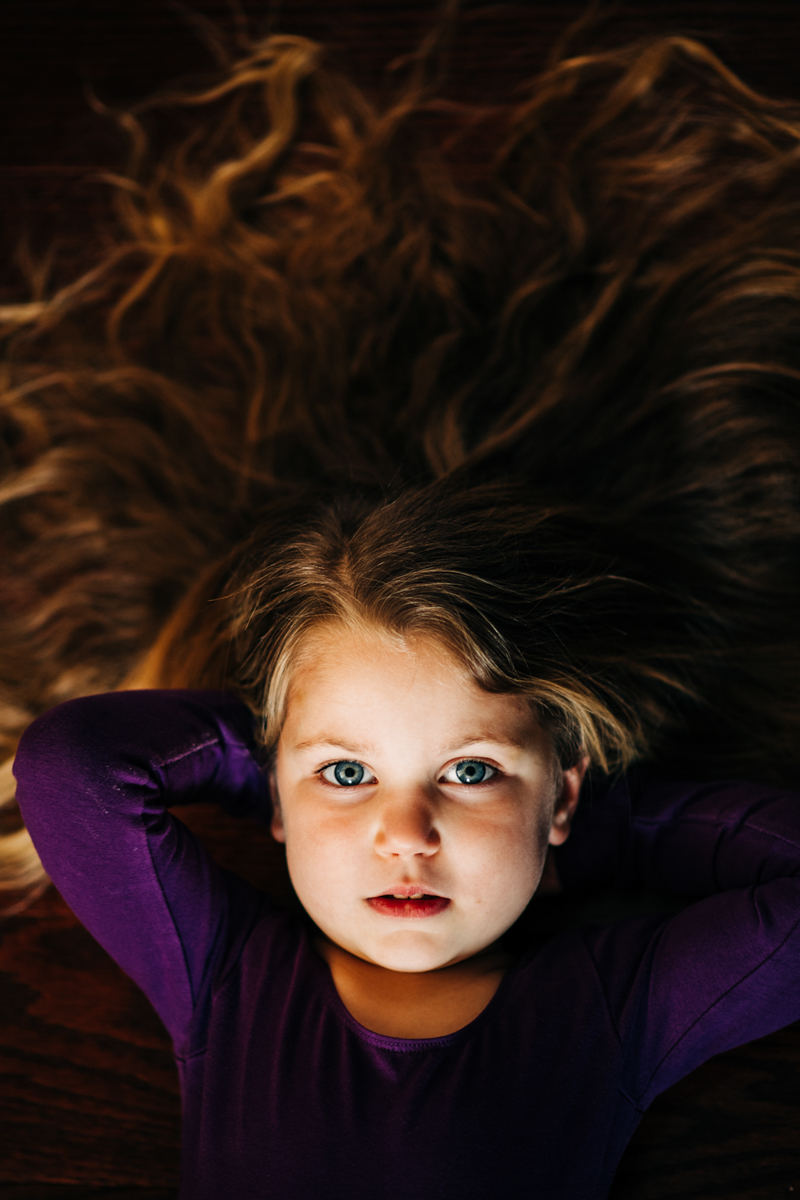
I only had a few yellow pom pom flowers, so the setup was faster. She was clearly done having her photo taken as you can see, so it was just as well! But after a few fake sneezes from smelling the flower, we were back in business! After a few clicks, I wrapped it up pretty quickly.
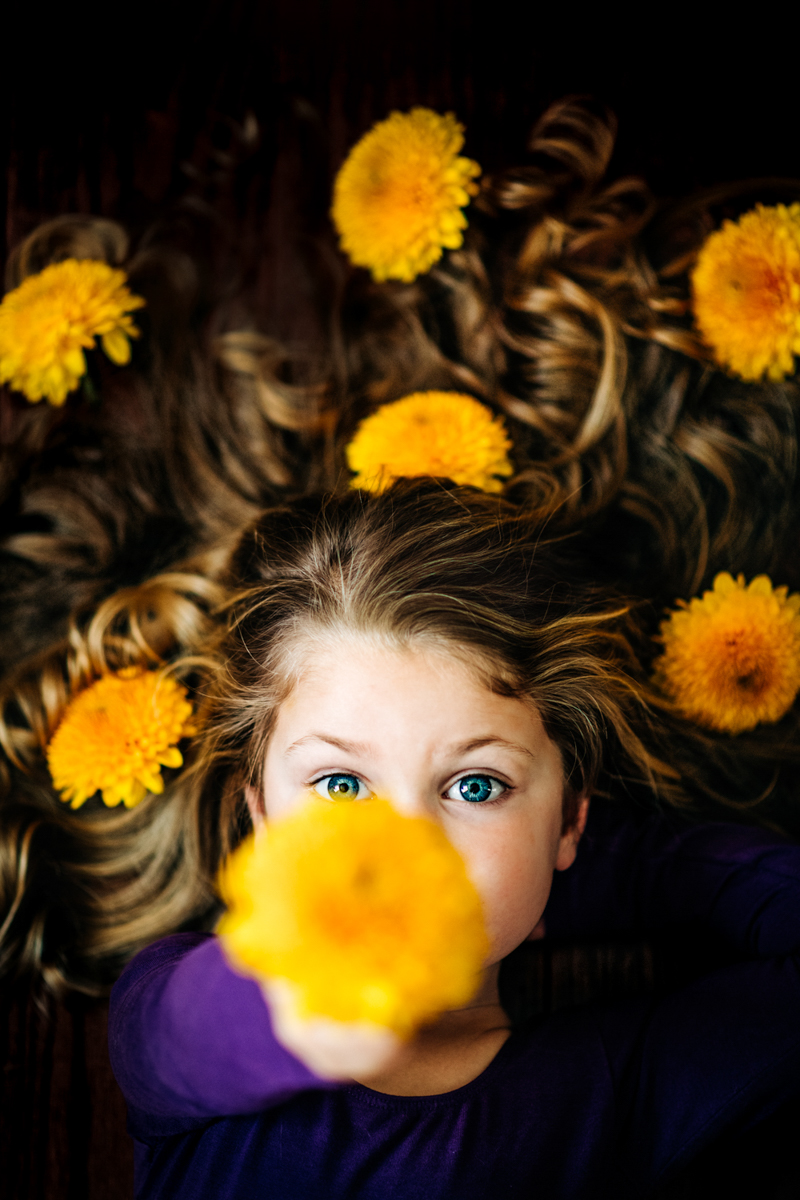
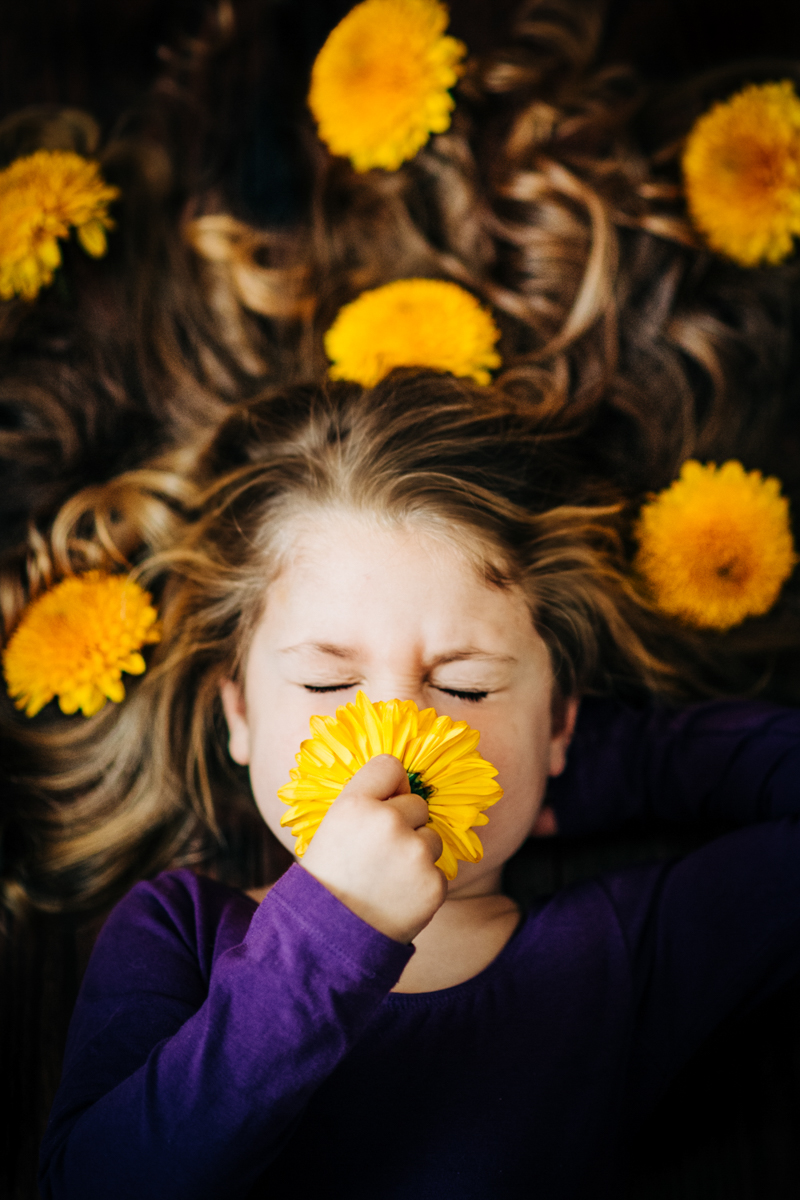
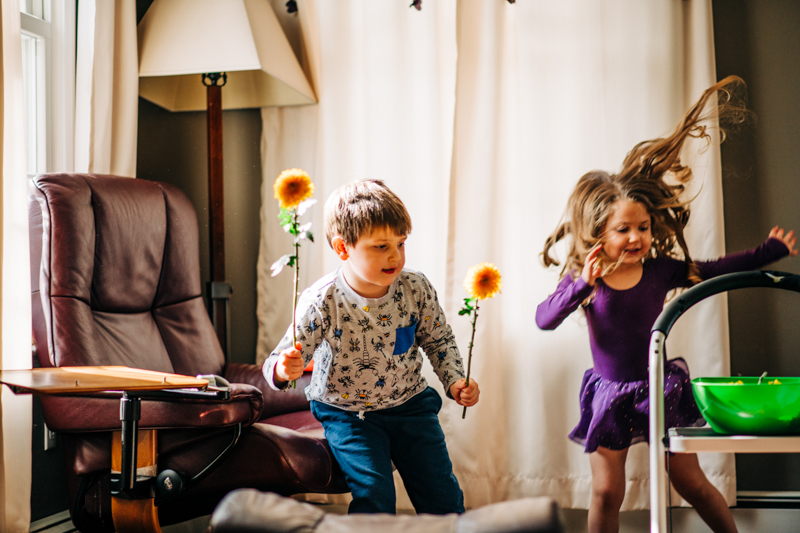
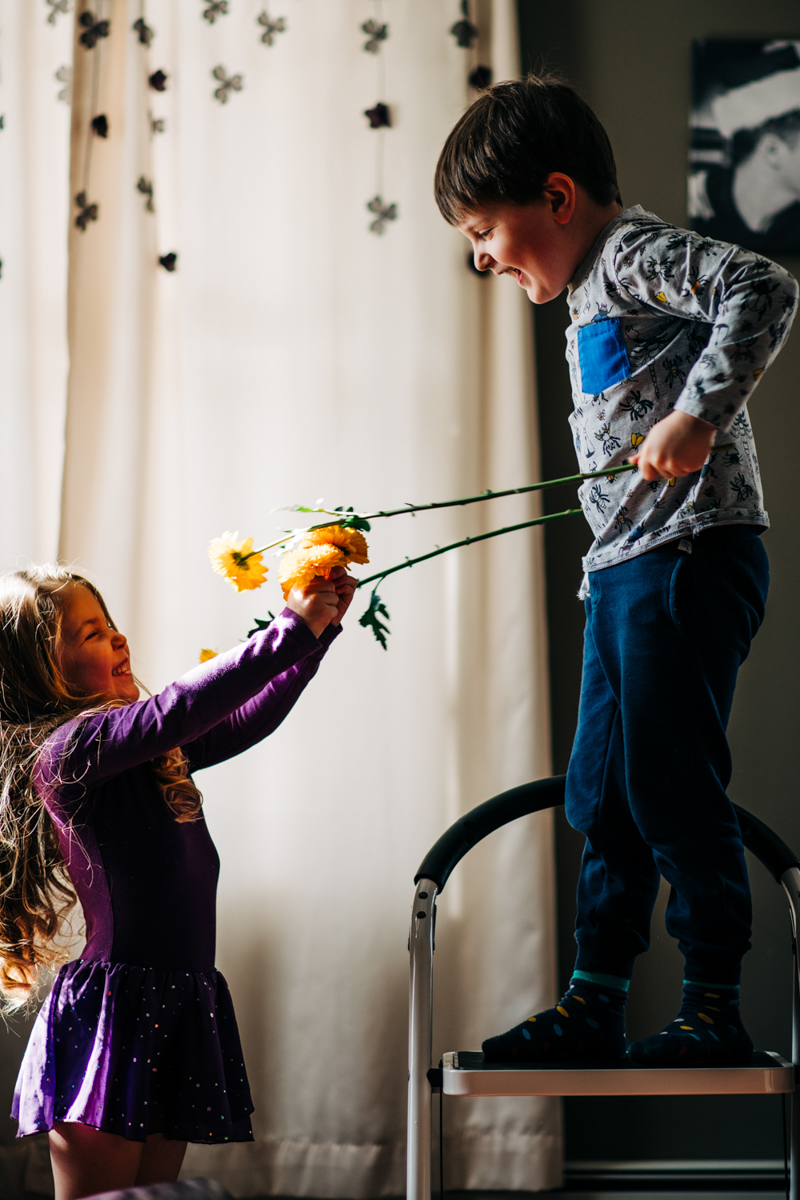
I then allowed them to DESTROY my living room with an epic flower battle as a reward!
Related: 10 Easy Tricks To Get Real Smiles From Kids For Photos
Perfecting The Process
When I shared these in the CLG Grad’s group, someone said they couldn’t wait to see more of the series. So that got me thinking! Audie’s fourth birthday was coming up, the perfect chance for another flower portrait photography session!
One thing I struggled with in my first shoot was varying her poses. So this time, I concentrated on capturing a few different perspectives and angles.
Creating a Light & Airy Look
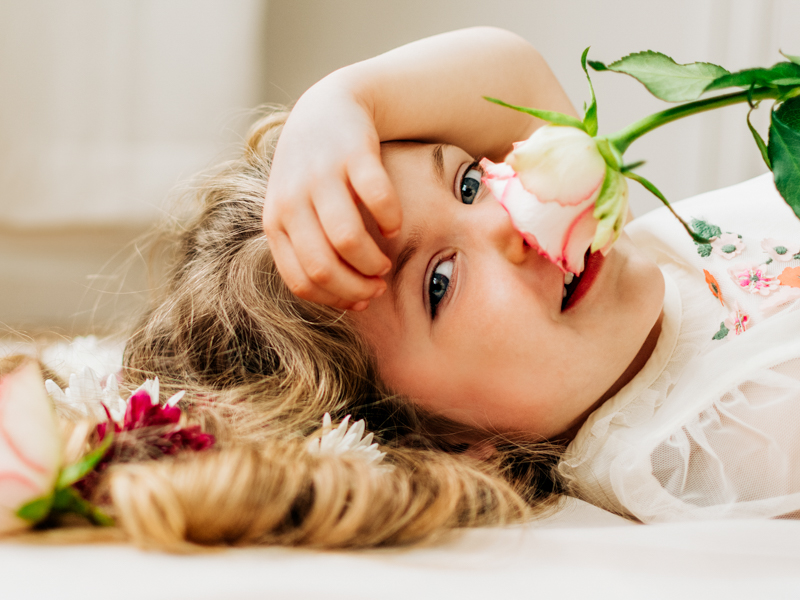
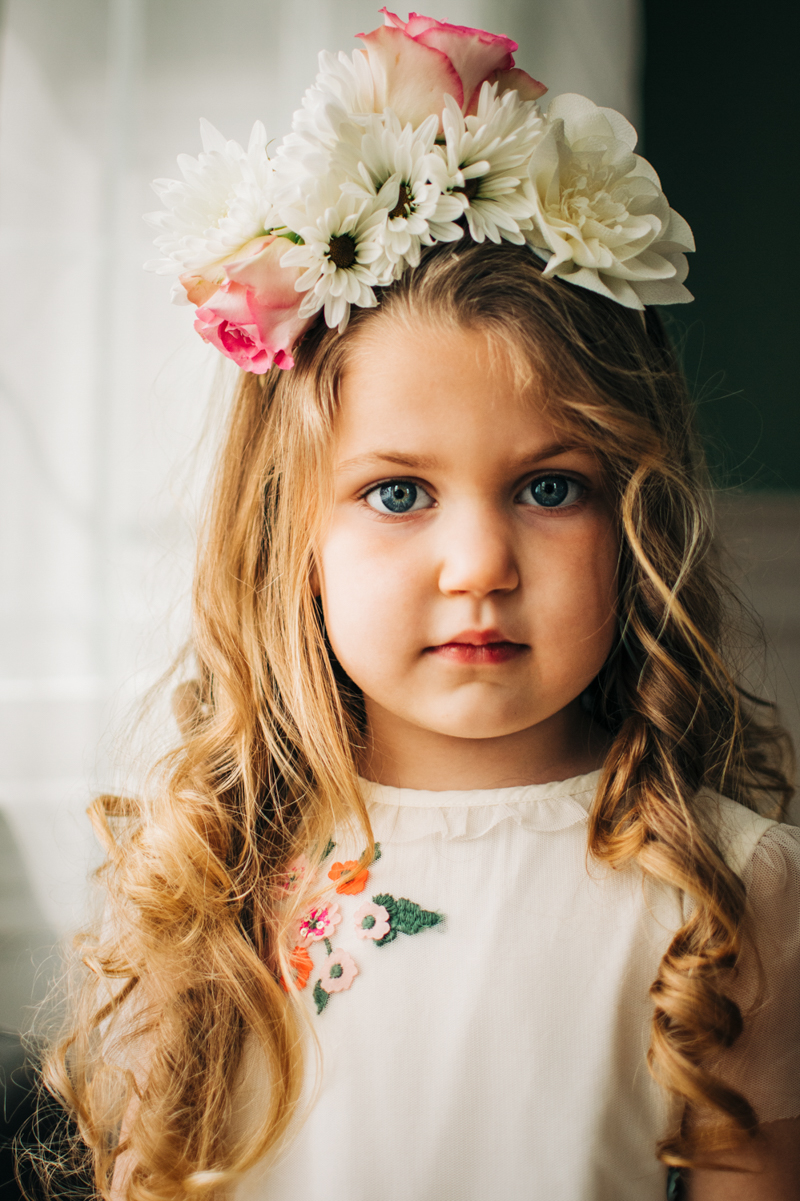
I also wanted a lighter, brighter feel. So I took her to my studio, which has lighter wood — aka the dining room before I made my husband take the table out.
For an even softer look, I draped a sheer, white curtain on the floor. I used similar curtains to diffuse the light coming in through the big bay window in my studio. I learned this trick during the CLG Beautiful Backlight Creative Workshop.
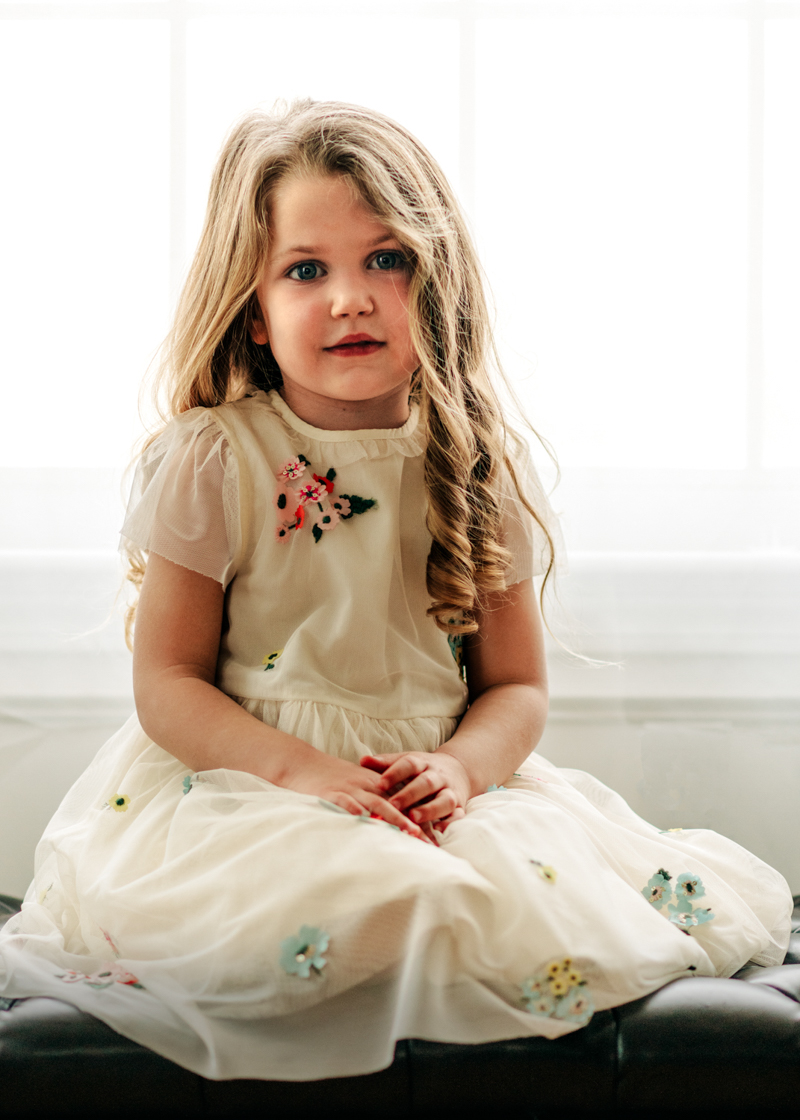
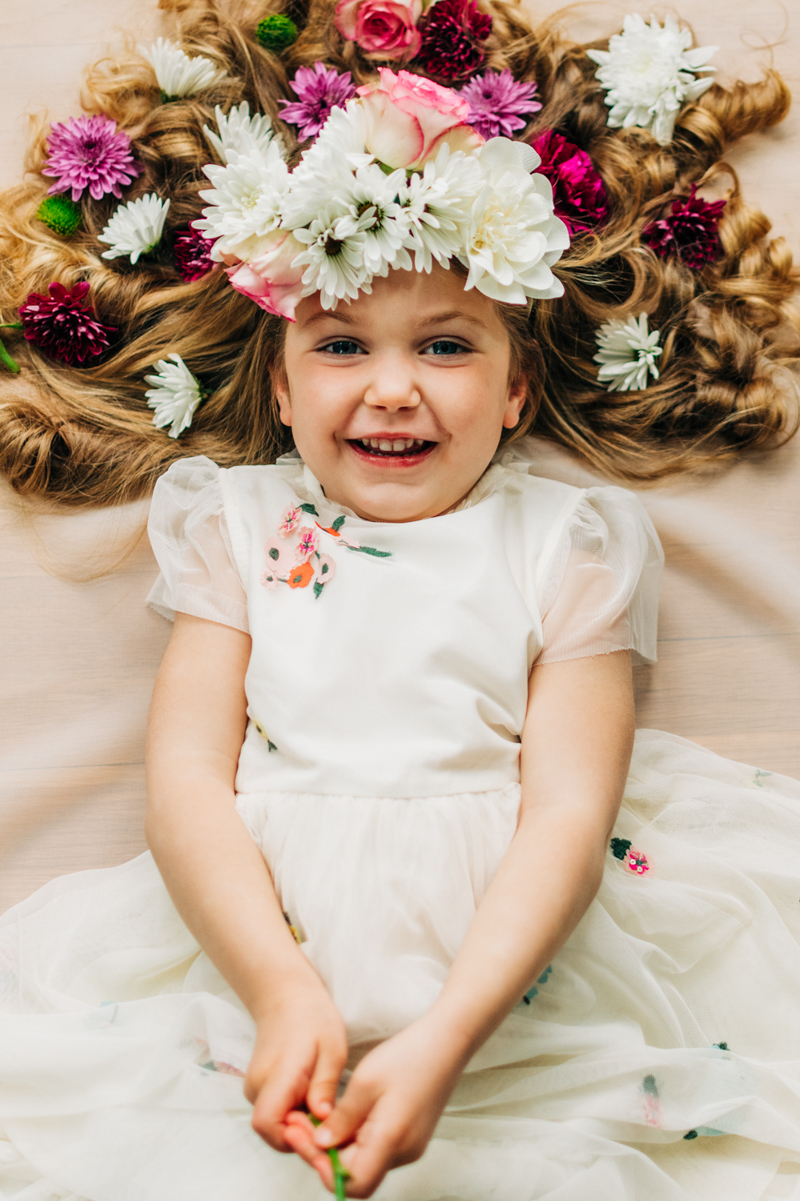
I had ordered her special birthday dress weeks prior, which would pair beautifully with a flower crown I’d made myself. I’d hoped for purple flowers in the order because they’re Audie’s favourite, but this time I got mostly white. So I saved a few purple flowers for her hair and used the white ones for her crown.
Go With The Flow
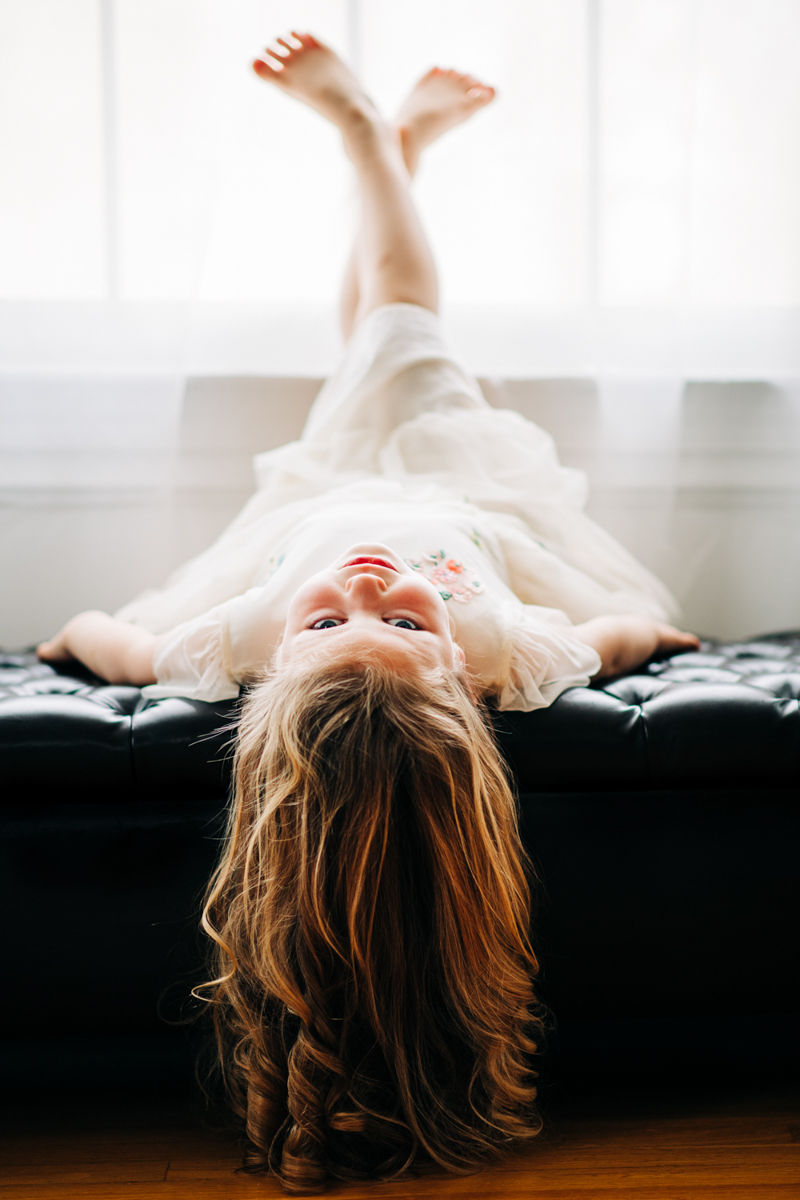
At this point, you’d think she’d be an old pro at the process! But in true almost 4-year-old form, she wasn’t all that keen! I did get a few shots laying down, but then she wanted to jump around, so I followed her lead.
If you try to force it, the shoot would be over.
So better get shots you didn’t envision than none at all. And if you didn’t get the flower portrait photography shots you originally set out to capture, save it for another day.
Related: How To Take Studio Portraits At Home
More Portrait Ideas
I enjoyed putting together these flower portrait photography sessions so much that it’s become a bit of an obsession! Now, I’m finding myself thinking of lots of other ideas for girls’ photography that Audie and I can try. I’ve completed a series of self-portraits of us together, and I’m brainstorming ideas I can try with my boys too!
Jennifer Magnuson is a CLG Advanced Graduate who lives north of Boston with her three kids and husband. They also share their home with both parents, three dogs, two cats, one guppy, and a bunch of chickens. So life is never boring, and she gives massive thanks to CLG for steering her with her creative passion.
If you enjoyed this blog on flower portrait photography and would love to learn how to take beautiful photos of your kids, sign up to my new workshop, My Simple Steps For Taking Pro-Quality Photos of Your Kids & Family…totally FREE to join! Register here…
If you’ve already mastered Manual Mode and are ready for the next creative challenge to up-level your skills, our Advanced Photography Course is for you…get all the details here.

Leave a Reply Cancel reply
PRIVACY POLICY & SITE TERMS AND CONDITONS
CLICK LOVE GROW ™ Pty Ltd - COPYRIGHT 2024 ©
x
Join Now
Enter your info below to join the challenge!
Want a friendly reminder when I go live?
Pop in your number and I’ll shoot you a text.
* We will send text reminders for our live calls during the challenge! Reply ‘STOP’ to end or ‘HELP’ for help.
We promise not to ever share your details with anyone or send you spam! Check our privacy policy and terms of service.
Be the first to comment